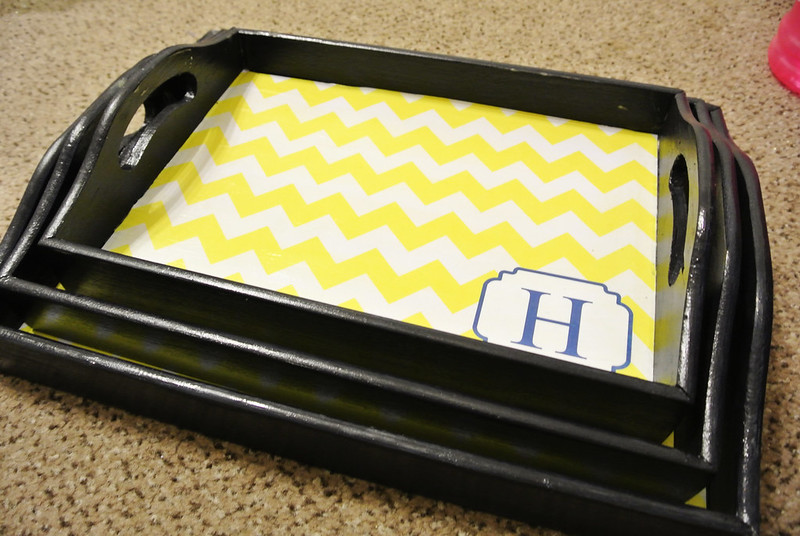
I bought these trays unfinished at Hobby Lobby. I spent a lot of time sanding them down, but I didn't bother with a prime coat of paint (shame on me) because I've done a lot of dark paint without priming before, and I like how the wood texture will show through. If I was painting it a light color, I would've primed it, but I consider it just an extra, unnecessary step with dark colors.
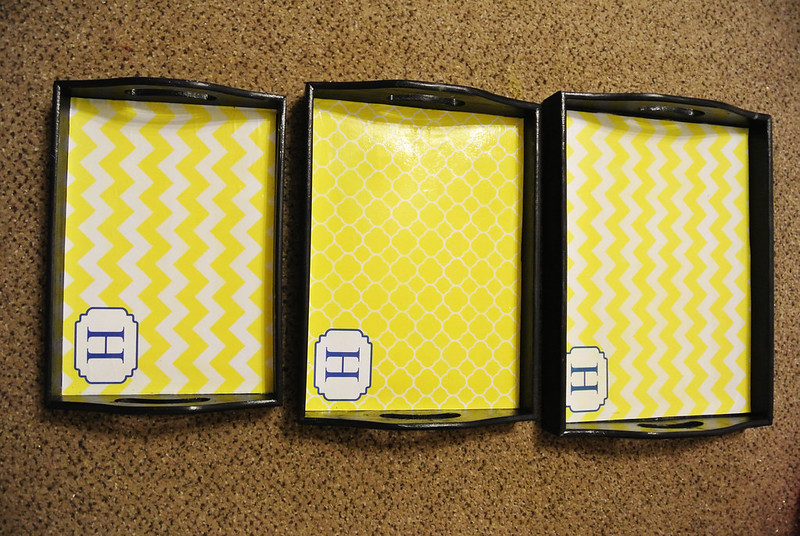
I made the inserts on the computer. I actually archi-nerded out and created the prints and monogram box on AutoCAD and imported them into Adobe Illustrator as vector files. I took the measurements of the tray and set the paper size on Illustrator appropriately. I also made sure that the scale of the chevron was the same on the small tray as it was the large one. The Monogram also remains the same size and in the same place throughout. I printed all of the inserts on 11x17 paper, choosing "do not scale to paper size" as an option (this way, the design printed at the size I set the paper to - not the size of the paper I was printing on.
I cut the inserts out with an Exacto knife and used Mod Podge to attach the paper to the trays. I actually messed up on my first few attempts and had to reprint, as I had difficulty not getting the paper to wrinkle with the Mod Podge. Finally, I found the answer on the Internet from the Mod Podge Queen (if you'd like her tutorial, visit her blog, Mod Podge Rocks). The trick is to spray the paper with a squirt bottle... but you have to be careful not to get too much water on it, or you'll cause the ink to run. After dampening the paper, cover the surface in Mod Podge, then press the paper to the surface. Use a paint roller to smooth out any wrinkles or bubbles. Let it dry for about 20 minutes, then coat the top with Mod Podge. It might look wrinkled, but it should dry fairly wrinkle-free.

Canvases are popular Little Gifts because they're fairly quick and easy to do (you can also get good deals on canvases from Hobby Lobby). I finished this in about an hour and a half. If you aren't familiar with graphite transfer, you just print out the image you want normally, then color the backside of the image in pencil, making sure to at least have pencil markings over the lines you plan to trace. Then lay the paper on the canvas (or whatever else you want to paint) and trace over the lines you want with a ballpoint pen, bearing down fairly hard.
For this canvas, I got a black and white picture of Audrey Hepburn and added the text in Illustrator (you could also easily do this in Microsoft word and can download fun fonts online). I printed it out and transferred it to the canvas. I then used a black paint pen for everything - text and Audrey. I knew I wanted Audrey to have a graphic look to her, so I left the light spots in the photo void and shaded everything else. I wasn't really sure of what I was doing at the time, but I was pleasantly surprised with the results.
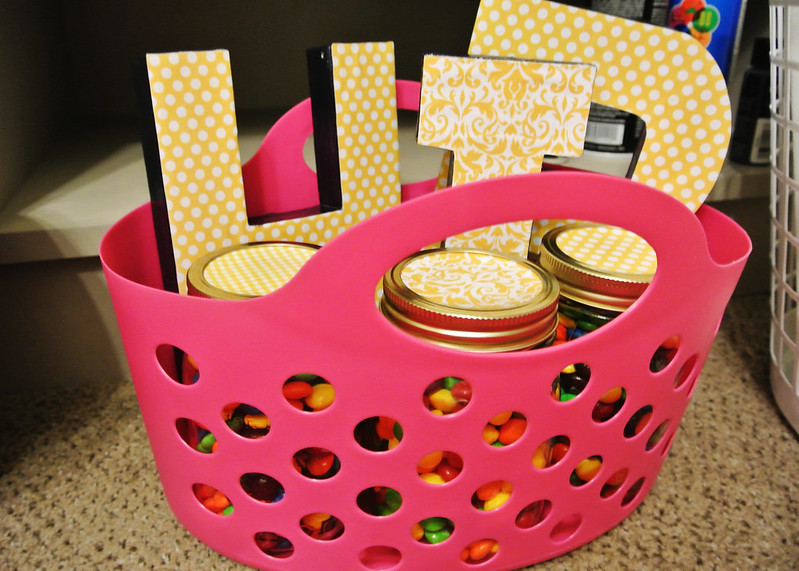
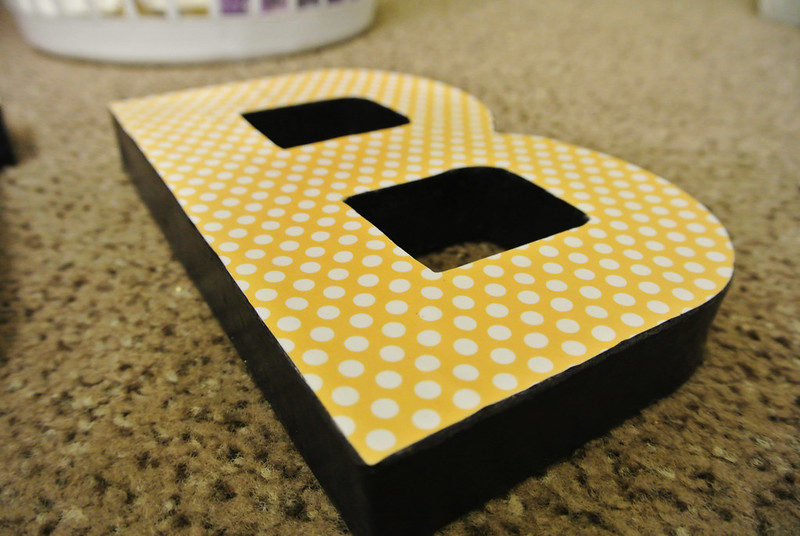
I Mod Podged her initials... block letters are also popular Little Gifts. I purchased these cardboard letters from Hobby Lobby - very good deal, and they're lightweight, so they can easily be hung on the wall. I actually primed these letters with white spray paint... I figure it saved me some navy paint, since cardboard tends to absorb a lot of paint before it takes color. I sprayed the front side of the letter with spray adhesive. I layed the scrapbook paper face-down on a table and then laid the block face-down on top of it and pressed down for so many seconds. I then cut around the edge of the letter using an Exacto knife on a cutting mat. I had to go back and touch up my edges because I had accidentally scraped some paint off with the knife, as well. I then Mod Podged the entire letter... this was before I knew about the wrinkle-saving method, but my letters didn't turn out too wrinkly... I think because of the cardboard surface.
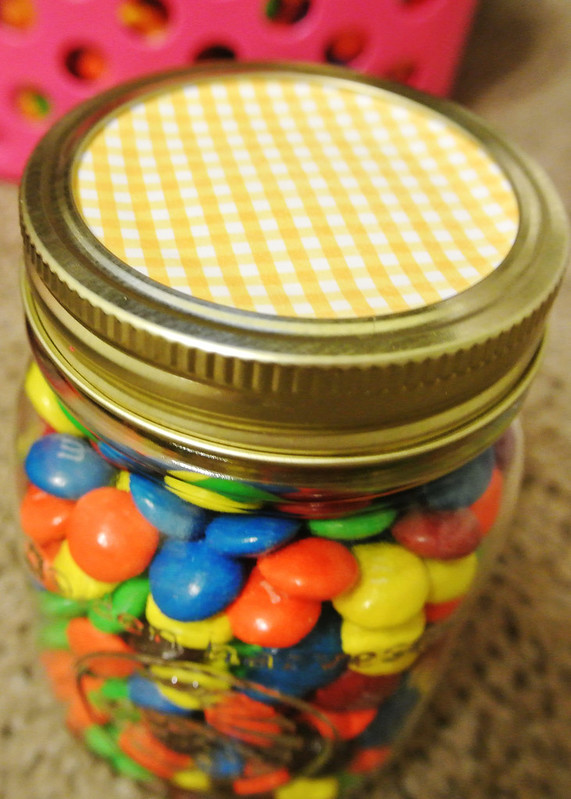
I Mod Podged mason jar lids using the same scrapbook paper. I first bought mason jars from Hobby Lobby, then realized they were significantly cheaper next door at the Dollar Tree. The Dollar Tree actually has a lot of good containers and glassware, so I recommend that you check them out for craft goods.

I used the same Mod Podge/Exacto technique for these chipboard letters. Hobby Lobby has a great chipboard cutout collection which is less expensive and easier to work with than wood. To get the two different papers, I lined the papers up side-by-side, face down on the table, then pressed the chipboard letters which had been sprayed with adhesive down so that I got both papers. Cut out the edges with an Exacto and finished with Mod Podge. I had no wrinkle problems with the chipboard letters.

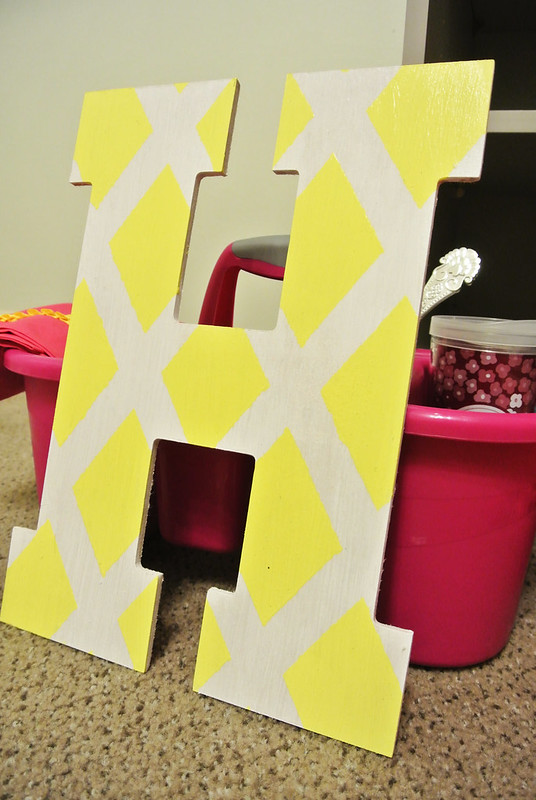
I got the large wood letter from Hobby Lobby. I sanded it before painting. I painted the entire front white, then used painter's tape to create the diamond pattern (btw, I learned the hard way that blue painter's tape doesn't work very well... get Frog tape), and painted yellow on top of that. Finished with Mod Podge.
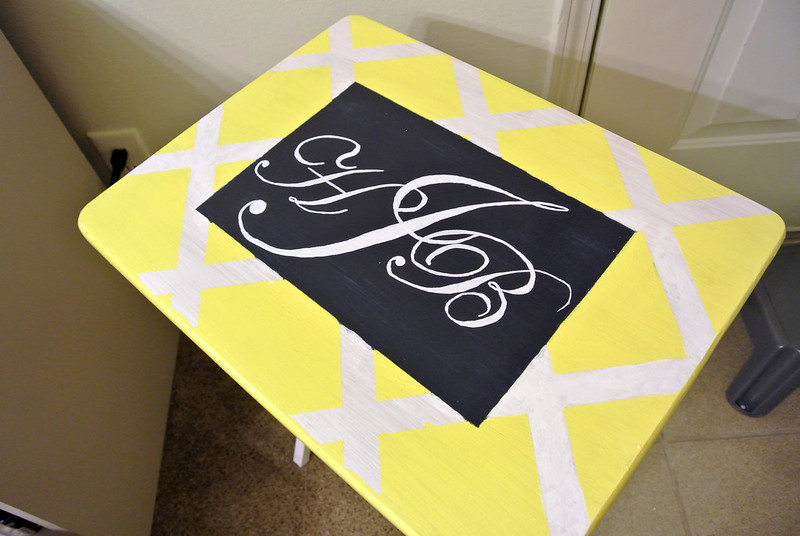

I used the same painter's tape method with the table. Note... get Frog tape. Blue painter's tape lets paint bleed through which adds a lot of time and really stinks. For the monogram, I created it on the computer and used the graphite transfer technique. Finished in Mod Podge.
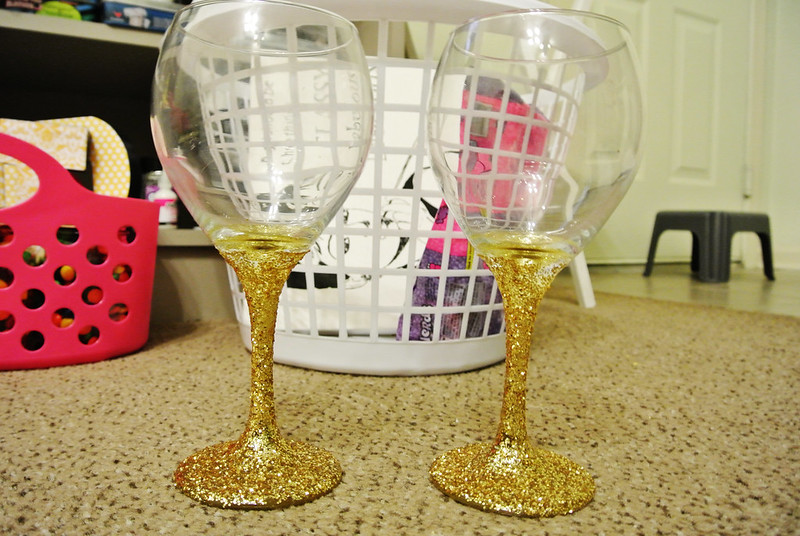
Glittering is really easy but really messy to do. You can basically glitter anything and everything. To glitter the stems of these wine glasses, I used painter's tape to create the boundary in which I would glitter. I then coated the stem of the wine glass in Mod Podge, sprinkled glitter over it (you're going to need to do this over a pan or bowl or trashcan or outside), then let dry. I then coated over the top of the glitter in Mod Podge. Let dry - voila!
Feel free to comment or contact me with any questions on these crafts or anything else. And, perhaps contradicting my Pinterest rant... Pin me!!!


No comments:
Post a Comment