Sunday, May 27, 2012
Photoshop Tutorial: Focus on Subject with Background Blur
Distracting backgrounds can make it really difficult to immediately pick out the focus of the picture. It's always good to focus on the subject and choose less distracting backgrounds, but sometimes the setting just can't be avoided. However, cluttered backgrounds don't have to remain prominent in the photo - you can easily use Photoshop to blur the background and focus on the most important aspect of the image.
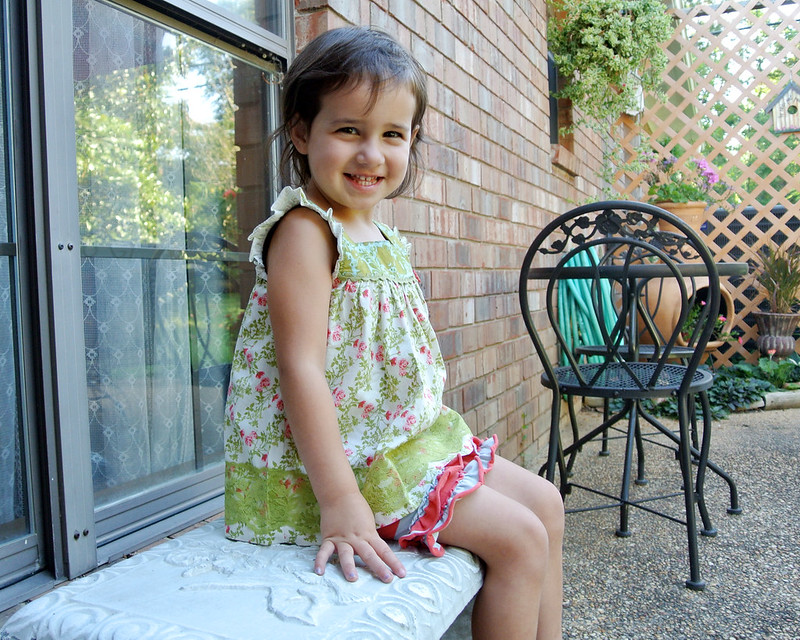
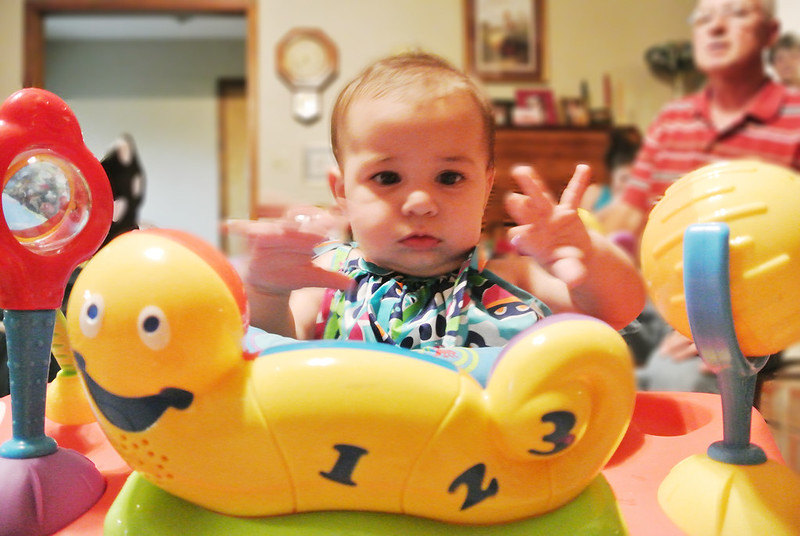
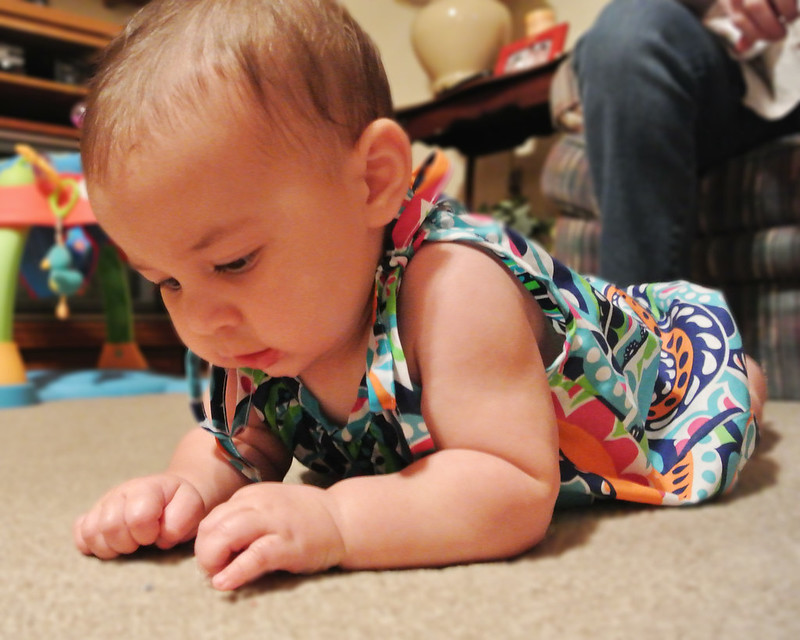
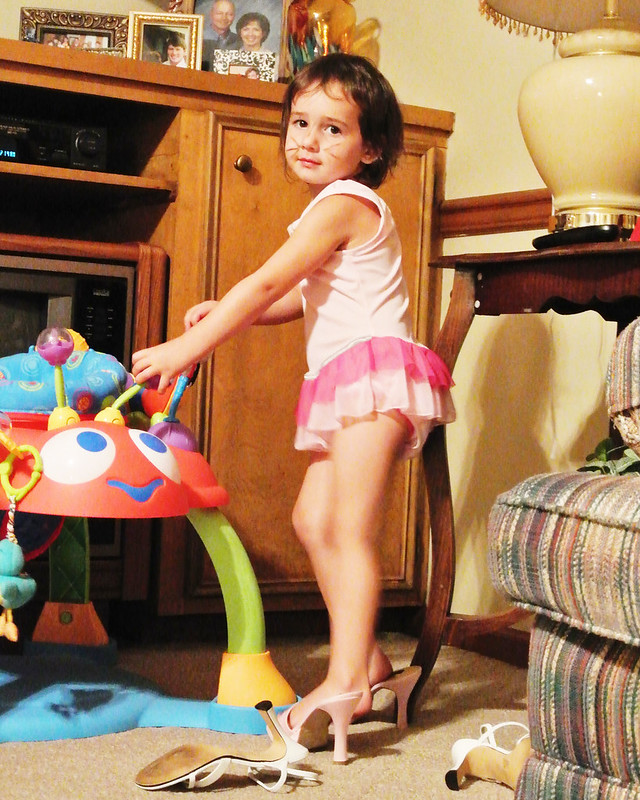
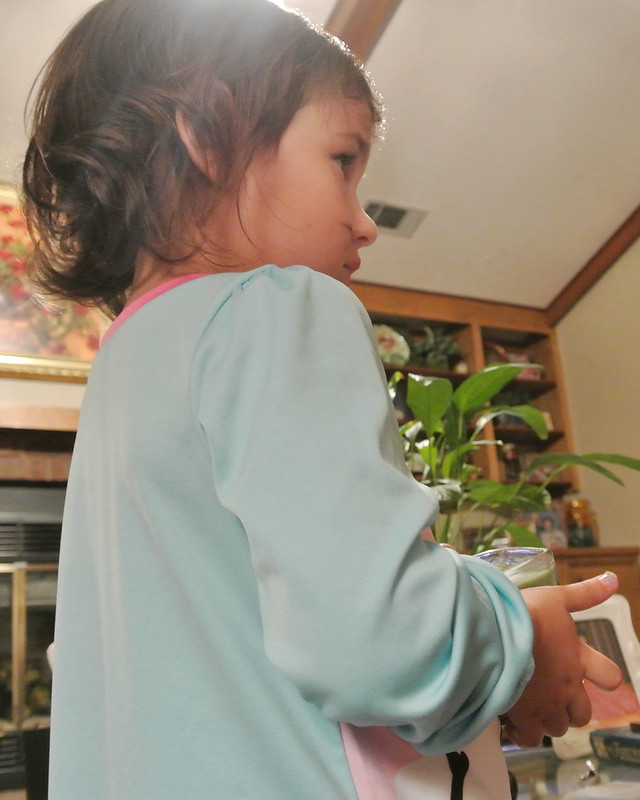
This is a photo of my cousin's youngest daughter. I took it by placing my camera on the floor at her level while sitting "Indian-style." I was pretty much shooting blind and wasn't able to pay much attention to focus. As you can see, the lighting is not ideal. It's a little dark, and the background is a bit distracting.
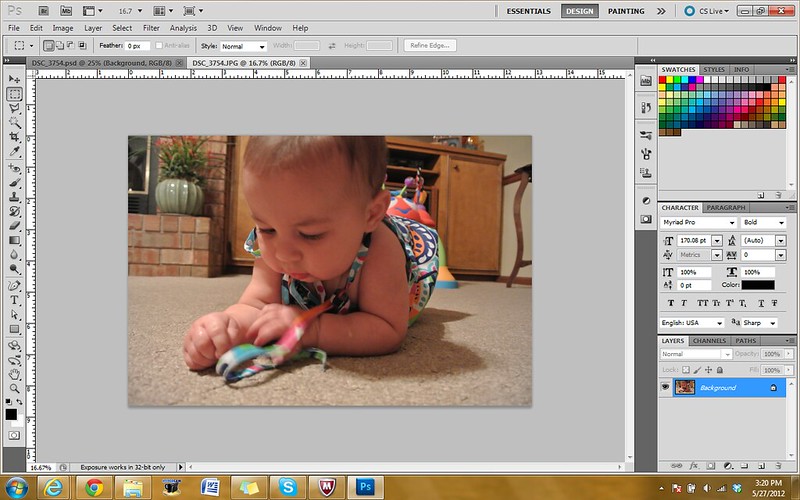
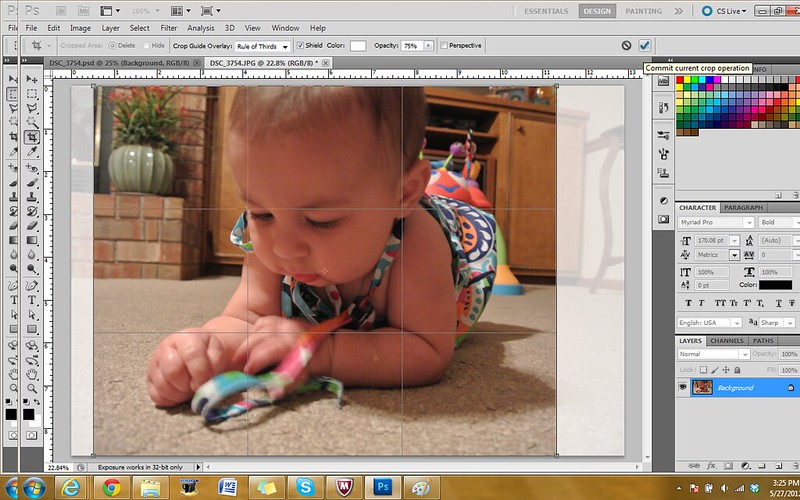
The first thing I did was crop the image to eliminate unnecessary background. I cropped it as an 8x10 and used the "rule of thirds" crop feature to frame her face.
Next, I wanted to adjust the lighting and brighten the image. You can do this using the brightness/contrast adjustment, but my recent obsession has been using curves. It's a lot more adjustable in what you brighten and what you darken and contrast.
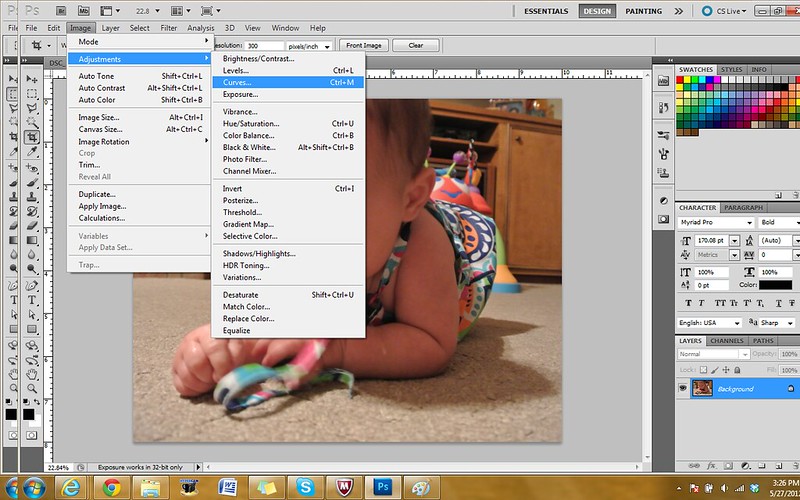
I played with the curves feature until I was happy with the results. I have Adobe Photoshop CS5, and you can see the image change as you adjust the controls. A good starting place is to pick a point in the middle of the line and pull it upwards if you are trying to brighten an image (downwards if it needs to be darker). From there, you can slide it left and right. I typically use one to three control points.
Once I was happy with how the image looked, I right-clicked on "Background" in the layers tab and chose "Duplicate Layer."
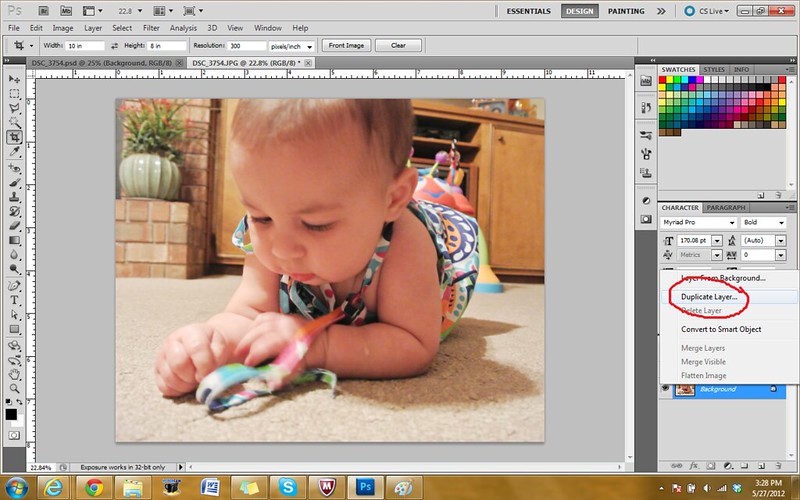
You'll then see a new layer that is called "Background Copy" (unless you choose to change the name of the layer - I rarely do unless I am working with many layers).
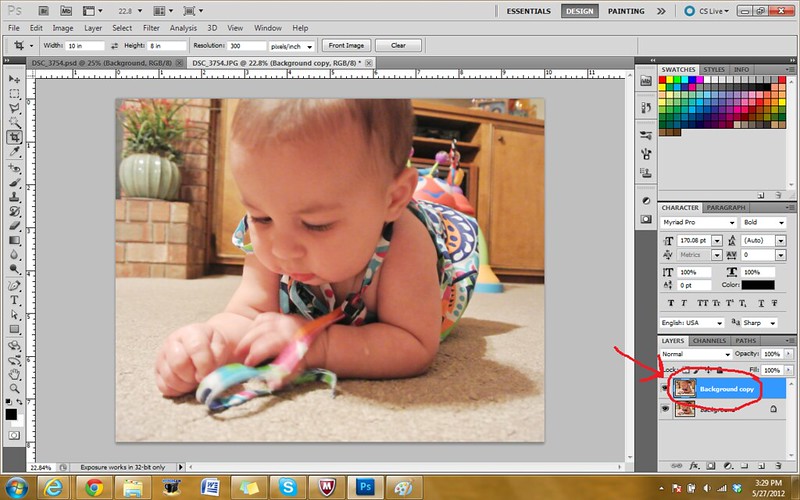
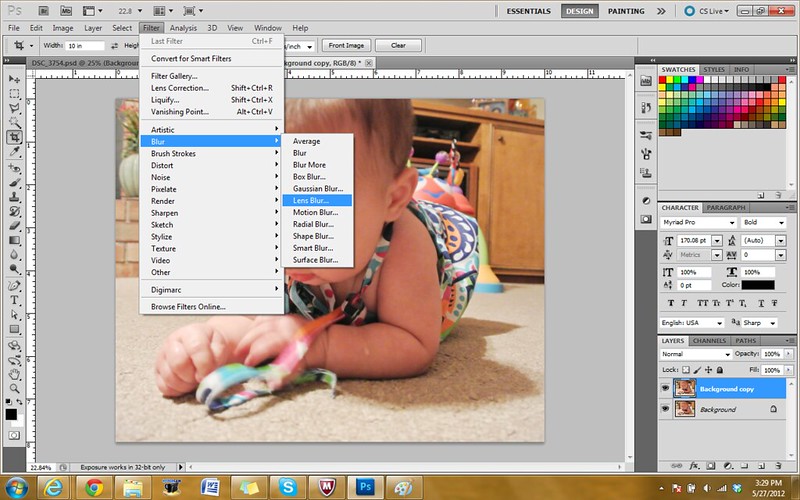
Make sure that the "Background Copy" layer is selected and highlighted blue. Then, go to Filter, Blur, Lens Blur.
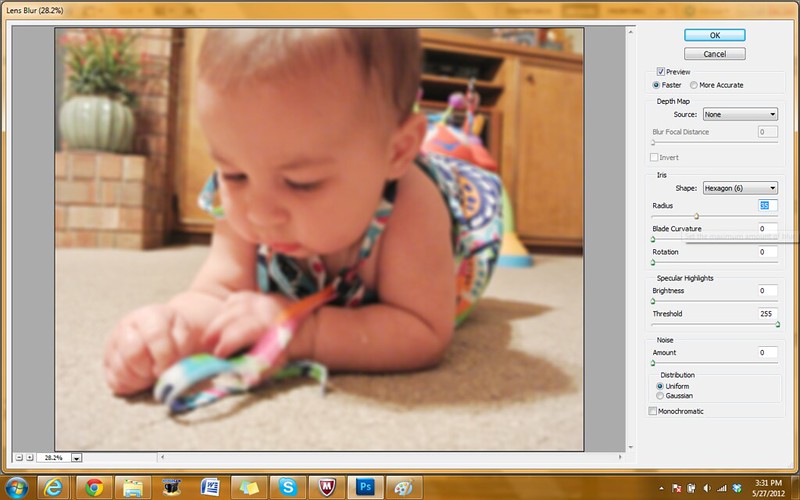
I then adjusted the radius on the lens blur until I was happy with how the background looked.
The next step is to again make sure that the Background Copy layer is selected and choose Layer, Layer Mask, Reveal All.
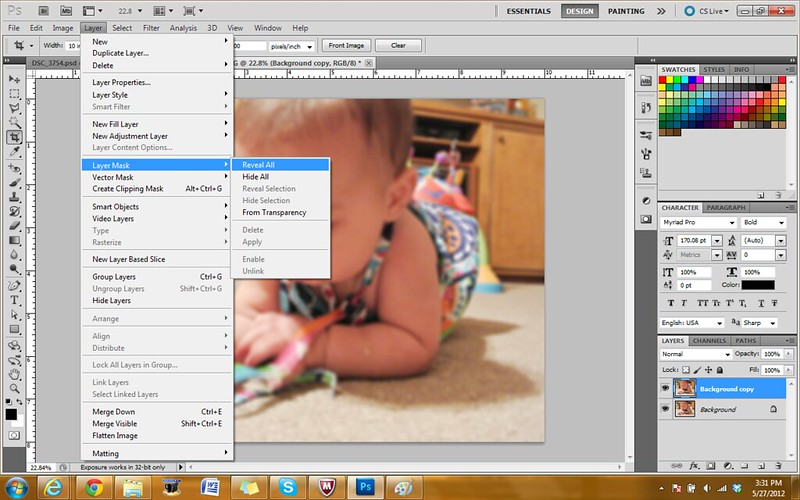
The layer mask appears like this in the layer window -
The next step is a little difficult to illustrate using screen shots. Choose the pen tool and make sure that the ink is black.
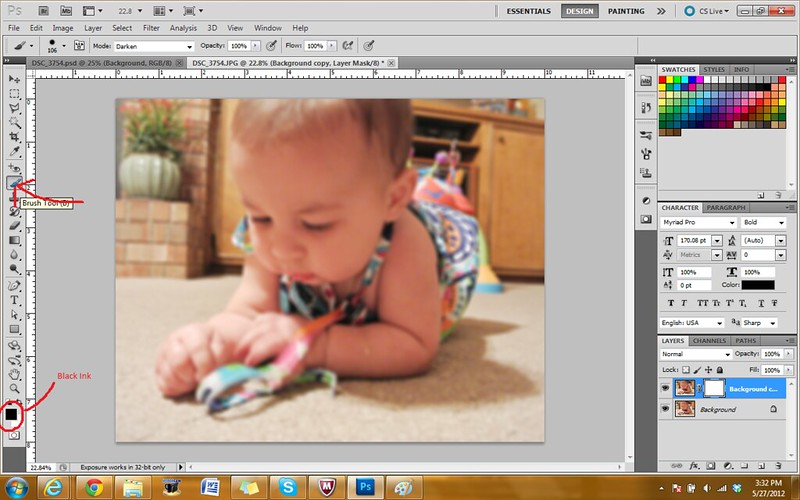
I also like to reduce the hardness of the brush. You then paint over the part of the image in order to reveal the background - the portion that you paint over will eliminate the lens blur. I took the brush and painted over the baby's body. You will see the background as you paint over the subject.
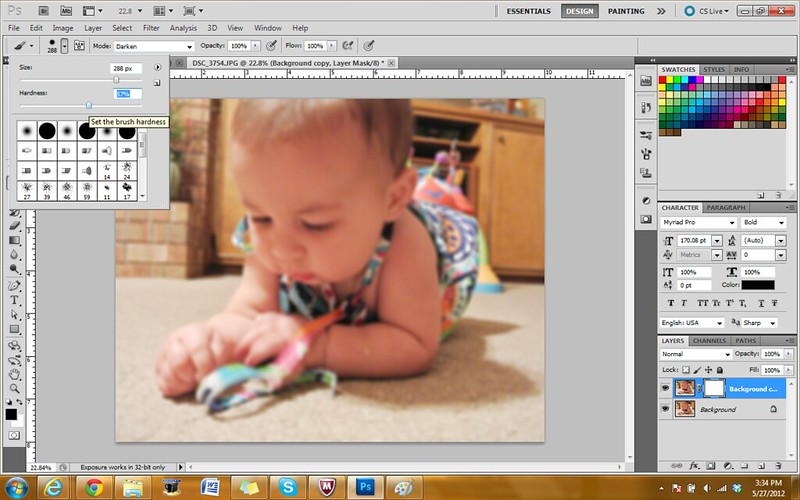
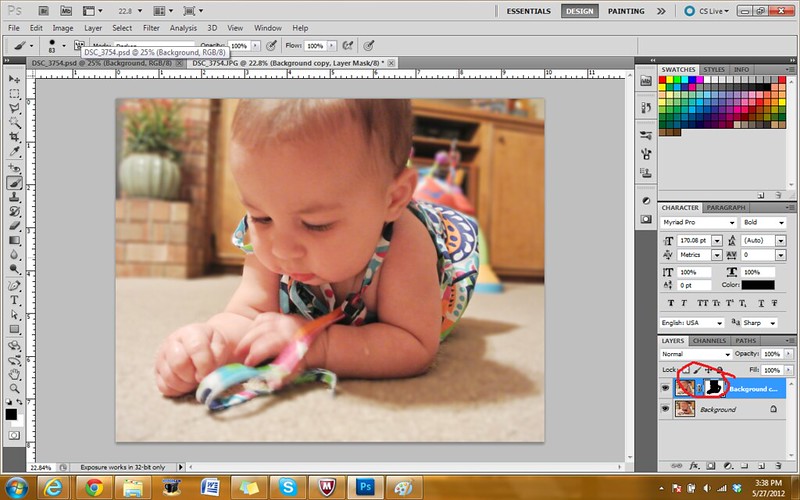
As you paint over the subject, the layer mask appears in the layer window. This will give you an idea of any spots you missed.
The next step is a somewhat nit-picky one. I went over on the carpet a little as I was creating the layer mask, and I wanted to fix it so that the entire carpet was blurred. Instead of adjusting the layer mask, I chose to merge the Background and Background Copy layers.
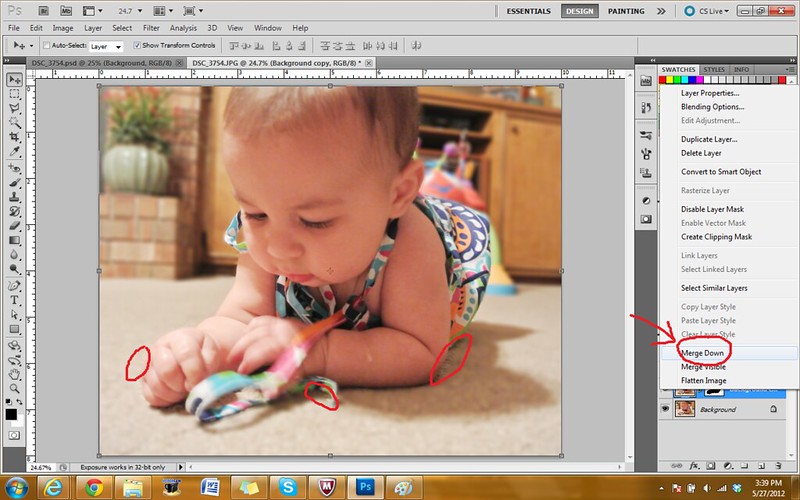
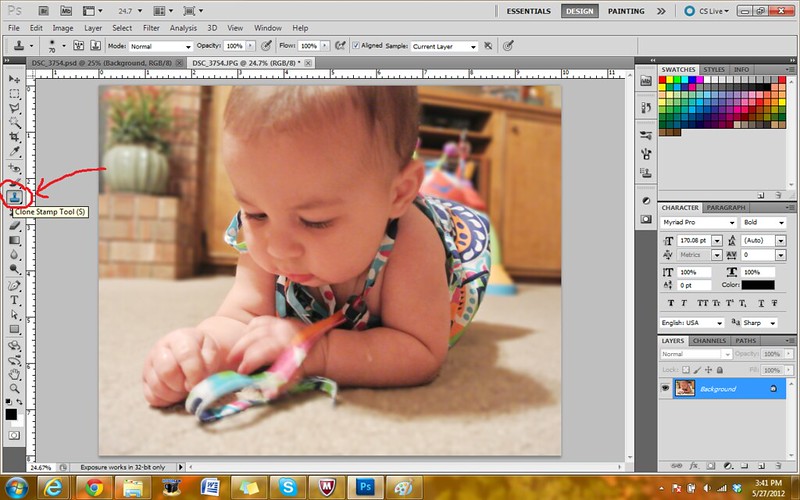
And I then used the Clone Stamp tool to replace the carpet from the background layer with the carpet that had been blurred.
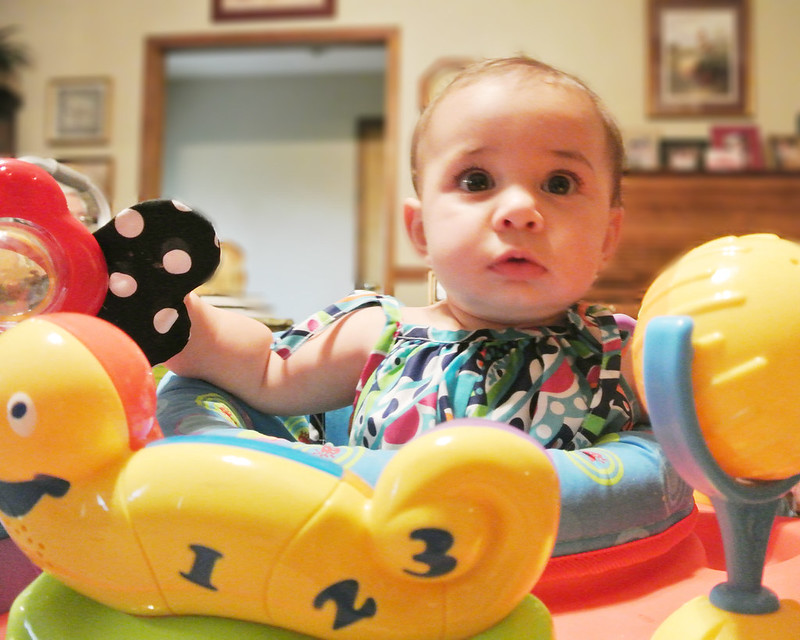
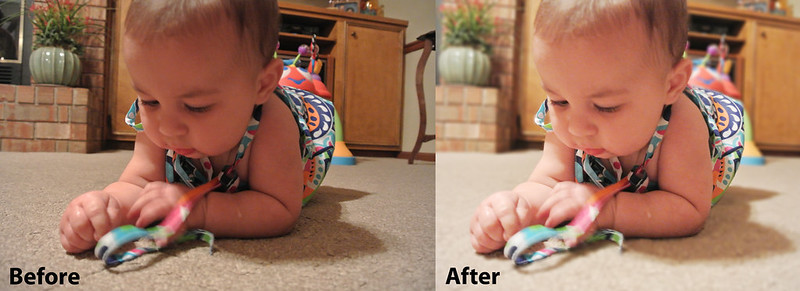
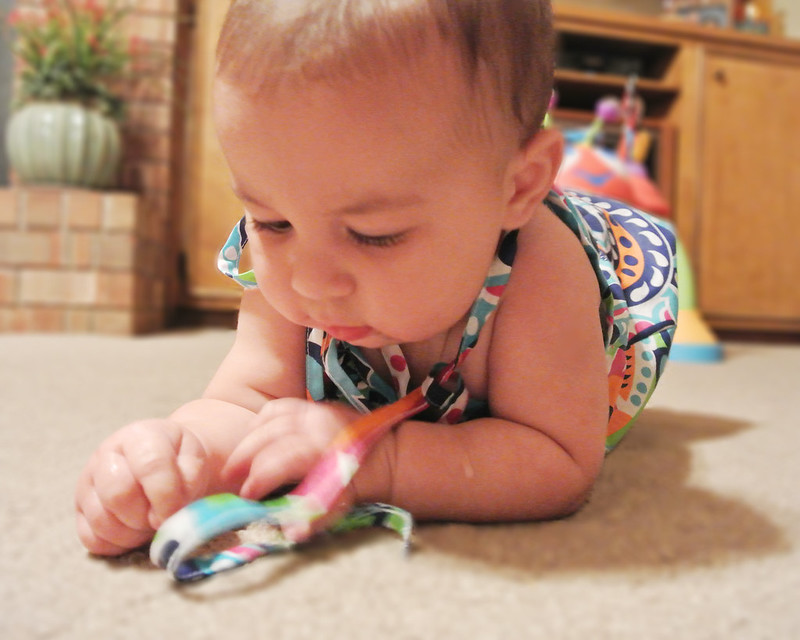
The results? I brighter baby that is no doubt the center of attention!
Labels:
Photography,
Photoshop Tutorial
Friday, May 25, 2012
Rachel's Surprise Family Graduation Party
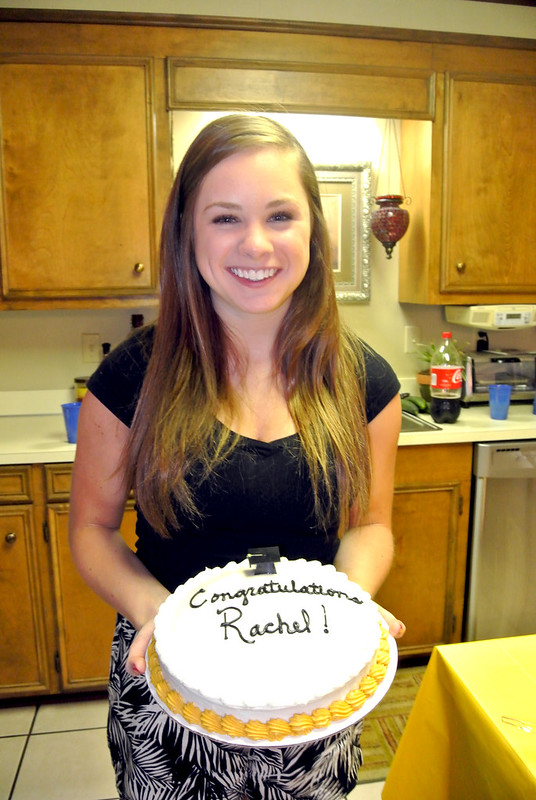
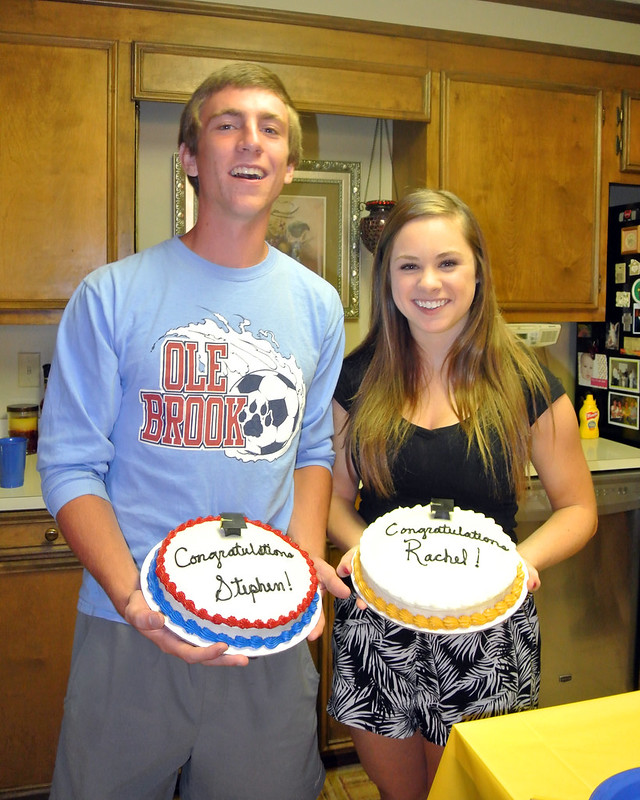
While we were in Brookhaven, Mississippi visiting our grandparents, our Aunt Debbie surprised us with a graduation party for Rachel!
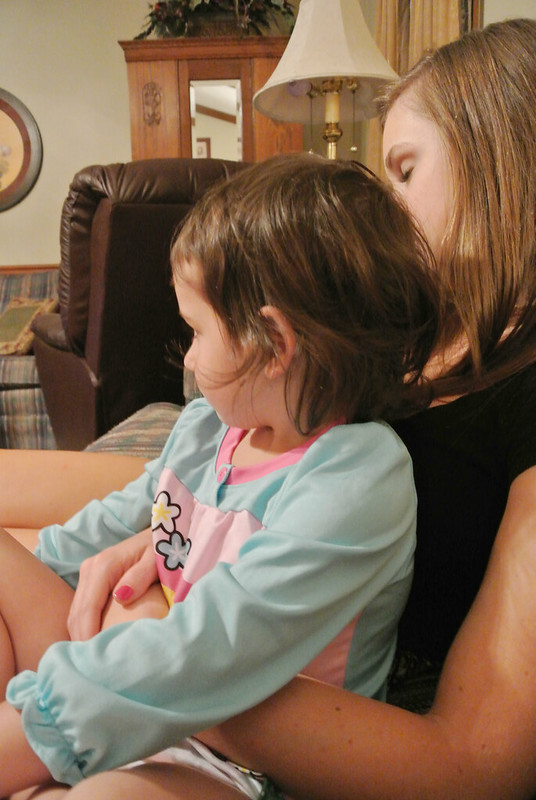
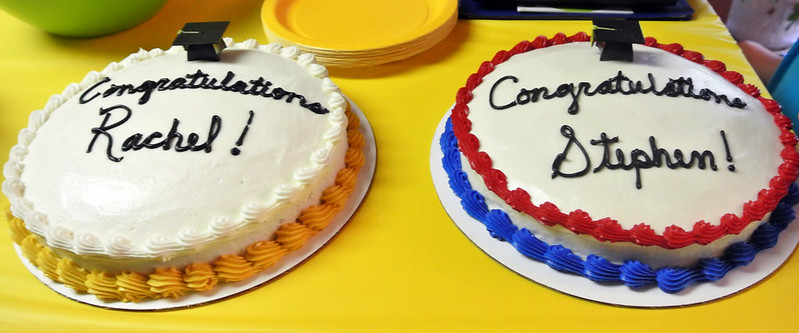
Our Aunt Debbie decorates cakes, and we're usually in Mississippi for my birthday (which is on the same day as my grandfather's), so I've gotten an Aunt Debbie cake almost every year.... I'm not sure, but this might have been Rachel's first!
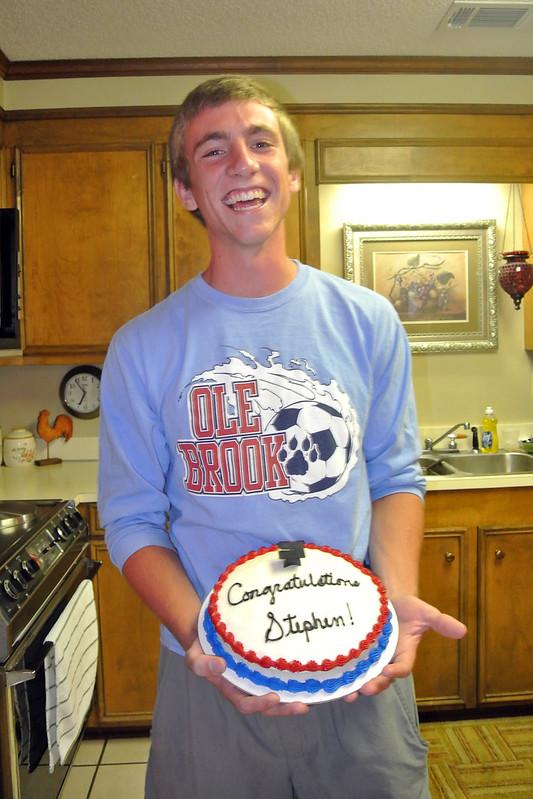
I actually didn't realize at first that the cakes were school colors - how thoughtful!
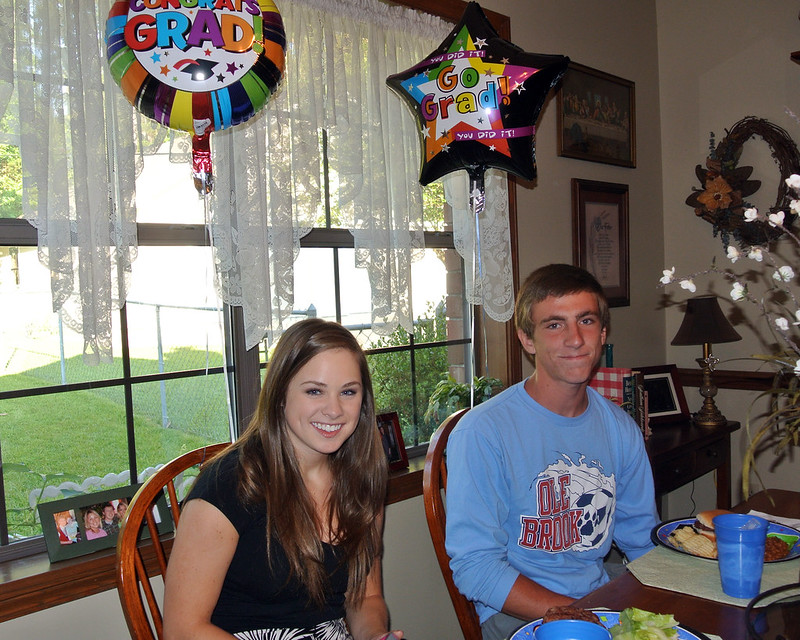
The graduates -
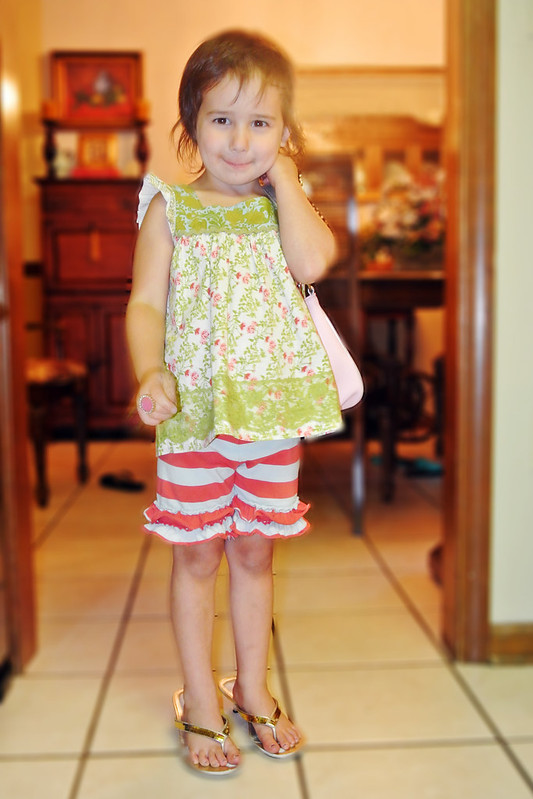
I looked outside and saw this little cutie -
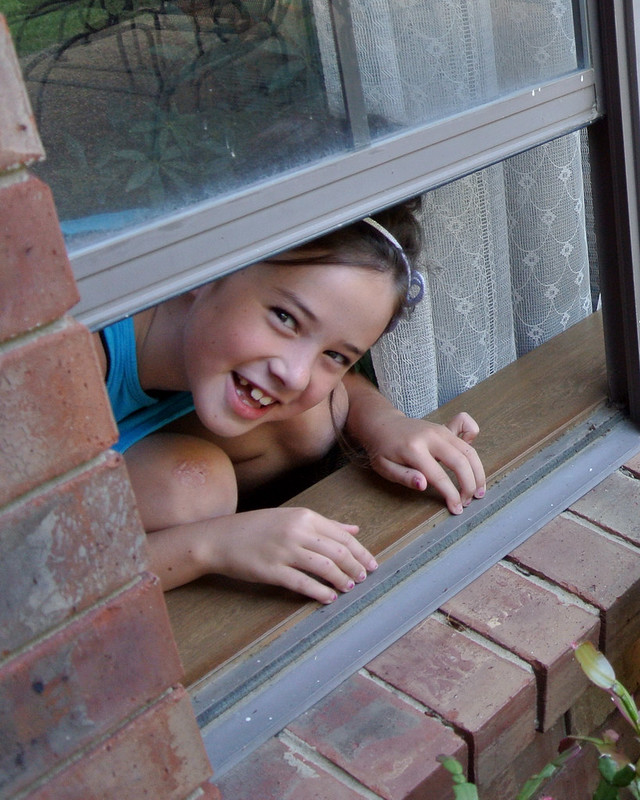
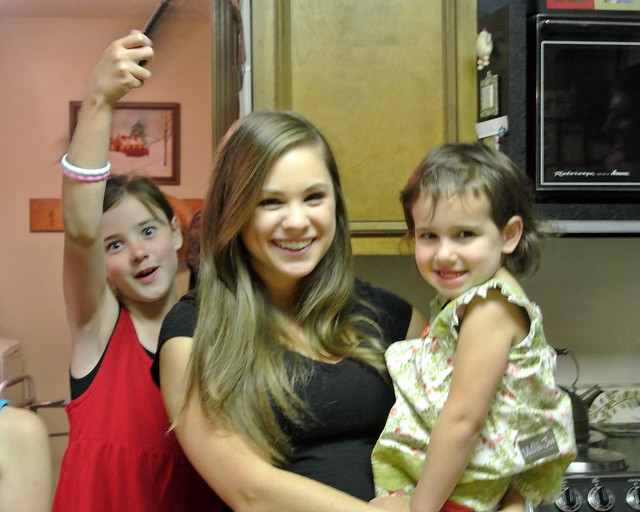
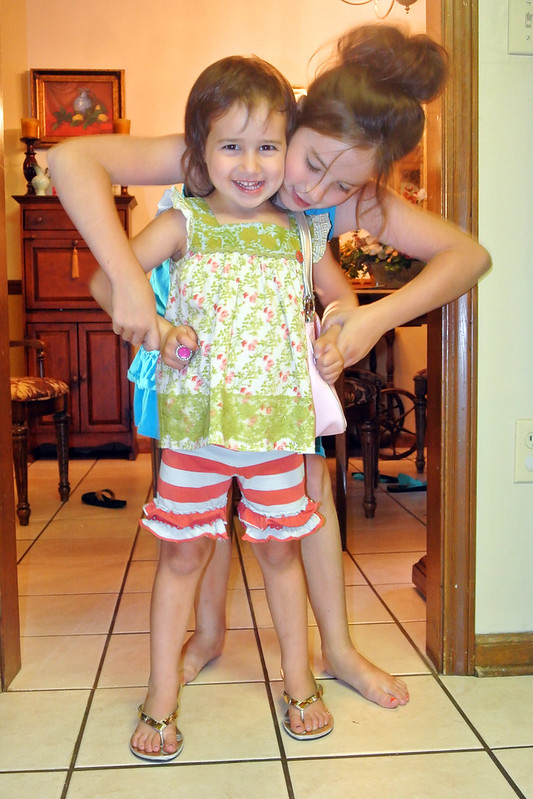
And then we were joined by her older sister, Lillie -
After dinner (hamburgers!), it was cake posing time -
Always be ready for pictures, guys!
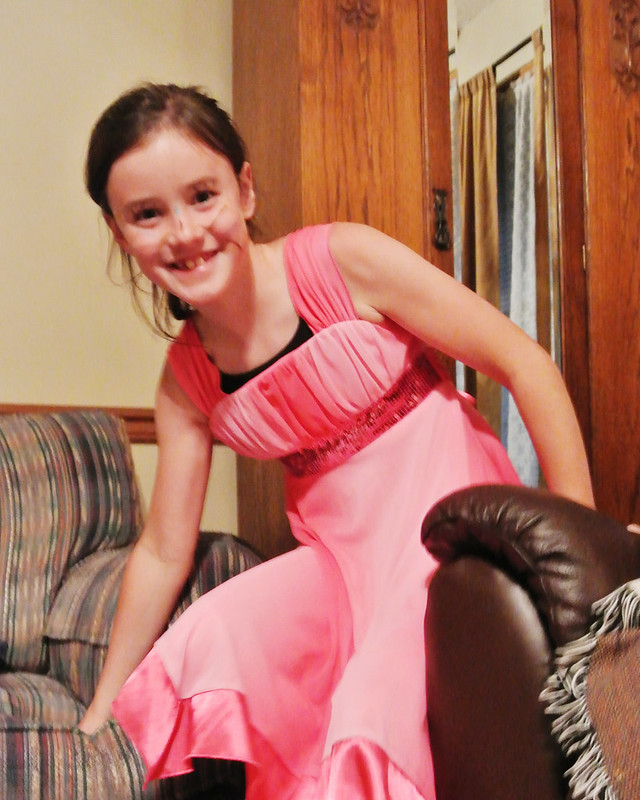
Meet Emma, Lillie's twin sister -
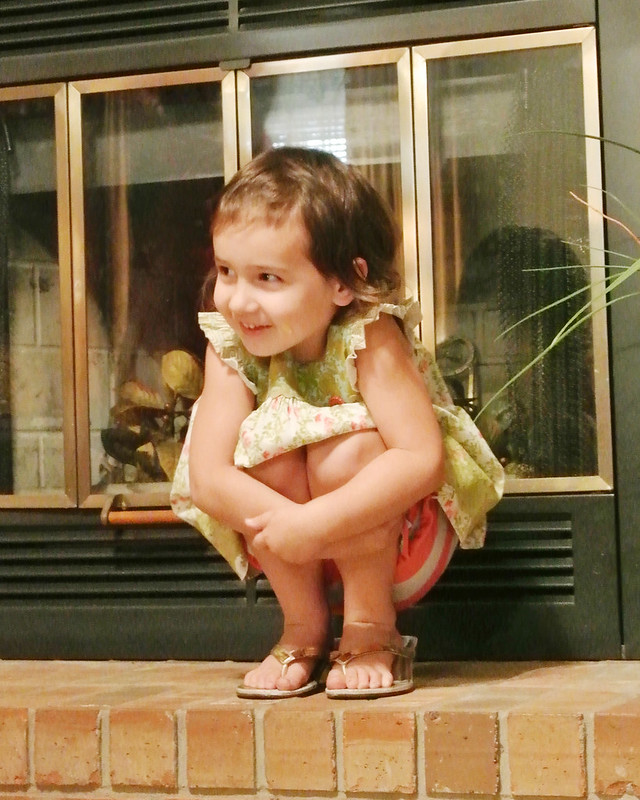
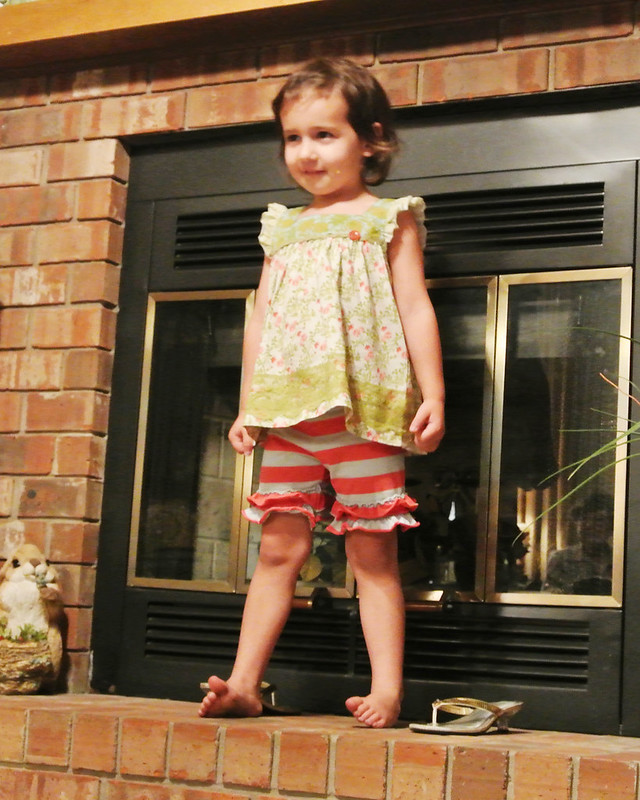
Though she is quite tall for a 7-year-old, she's not that tall (she's wearing heels that Rachel had outgrown given for dress-up)...
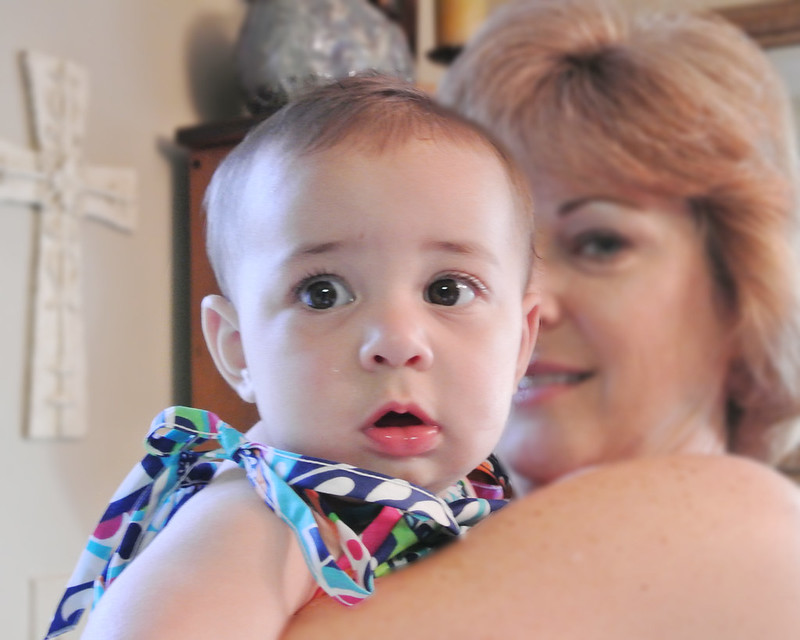
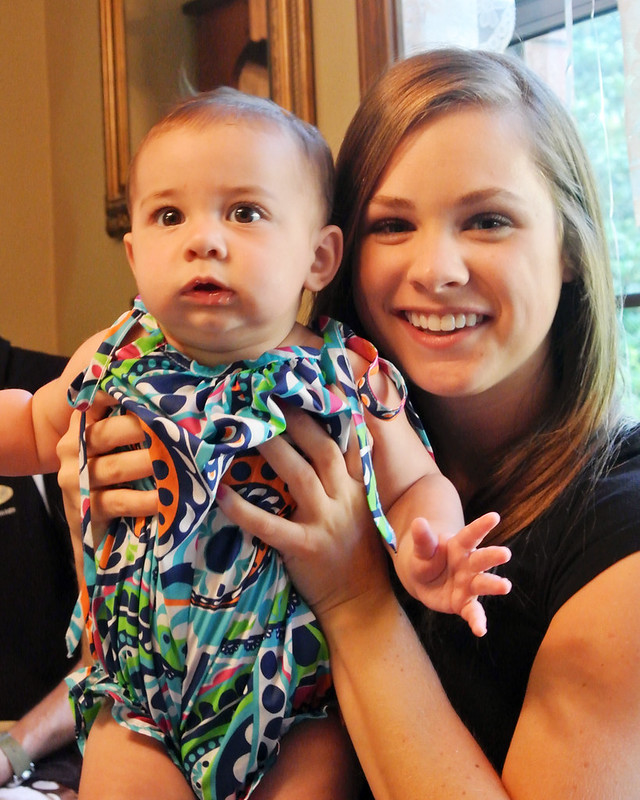
Now meet the fourth daughter, Mary Michael -
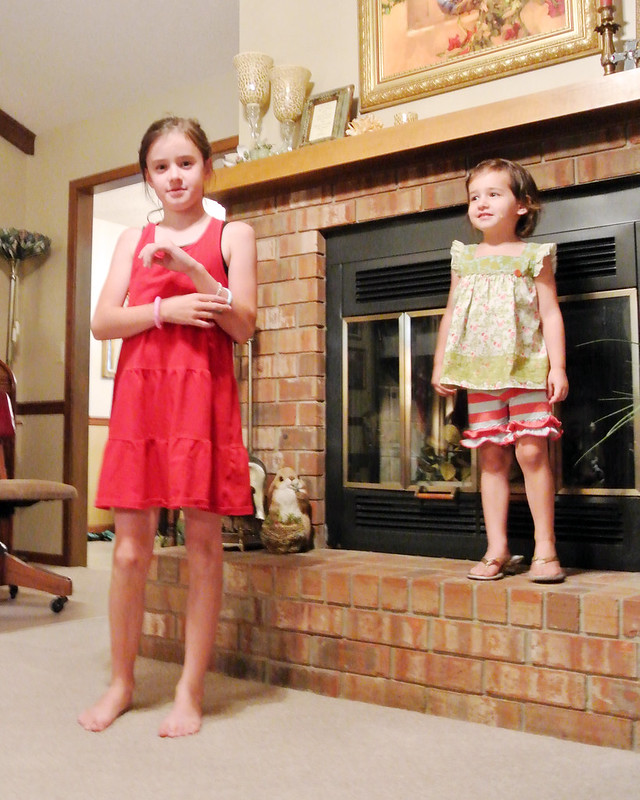
Lillie teaching Ruth Ellen to put her hands on her hips -
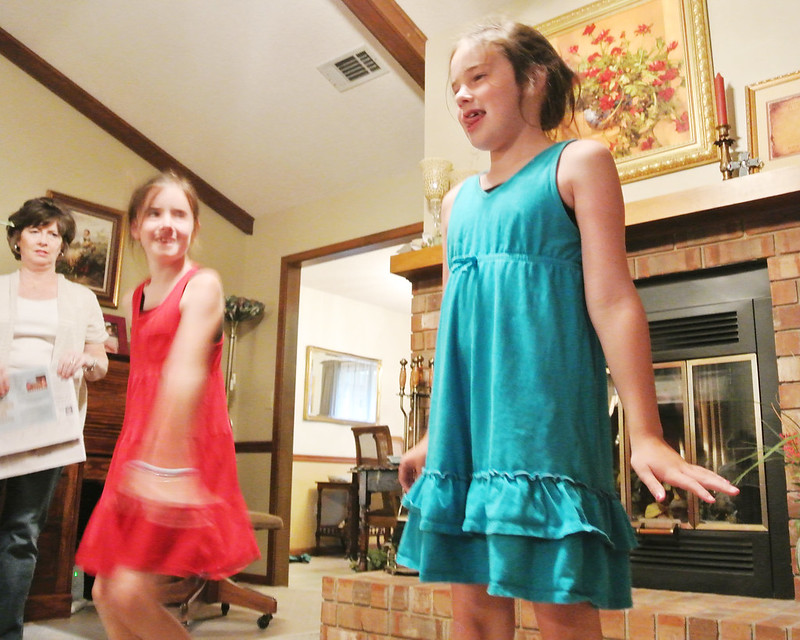
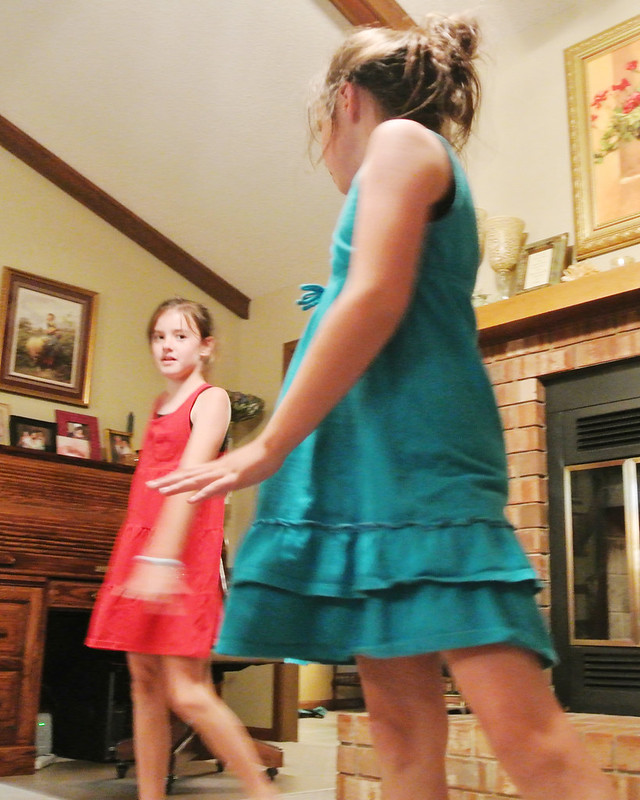
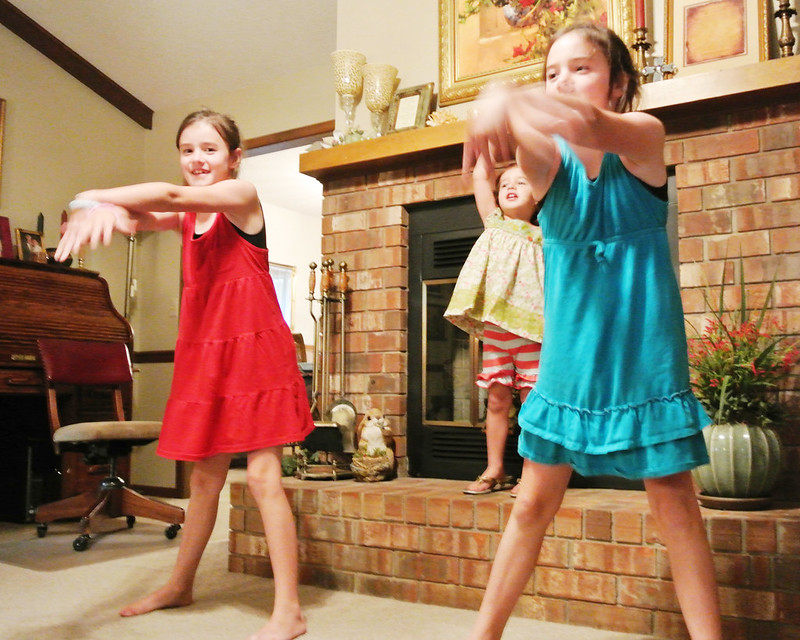
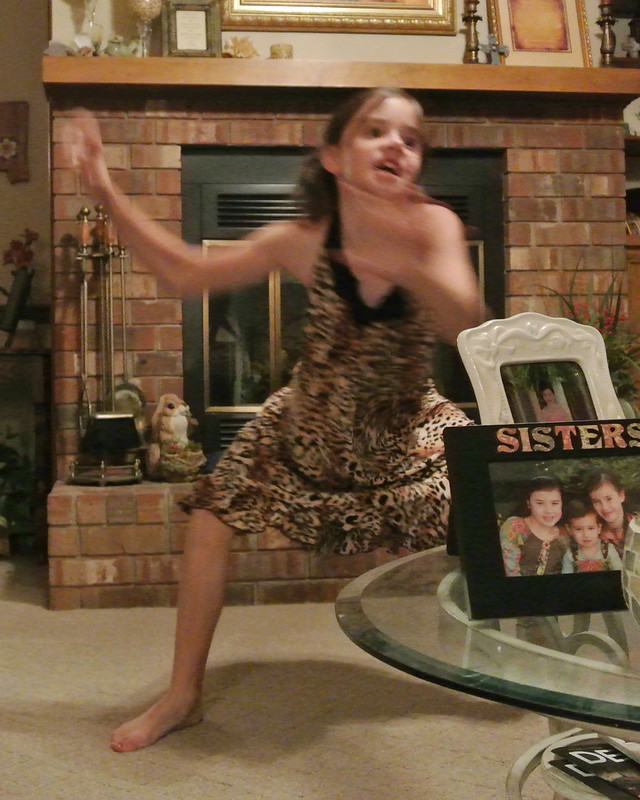
Emma and Lillie showed us their Barbie Girl dance that they'd be performing at recital on Thursday. The tongue is a sign of concentration...
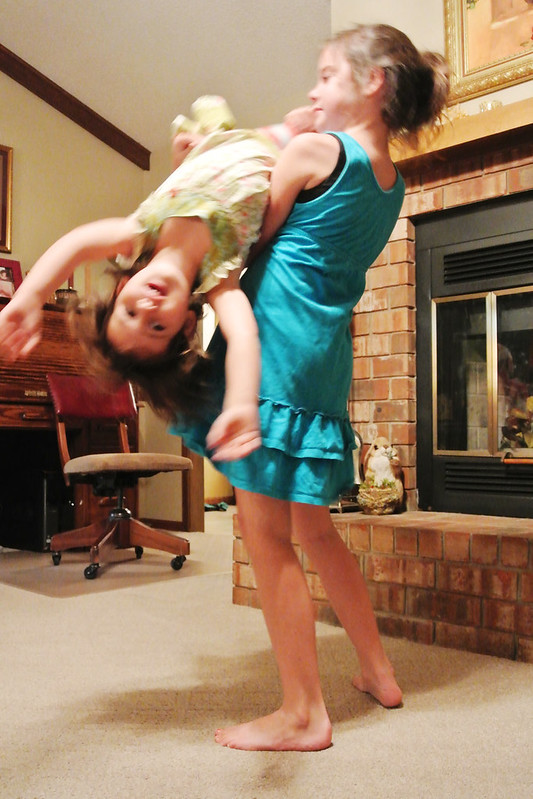
Ruth Ellen joined in as a back-up dancer, freestyle!
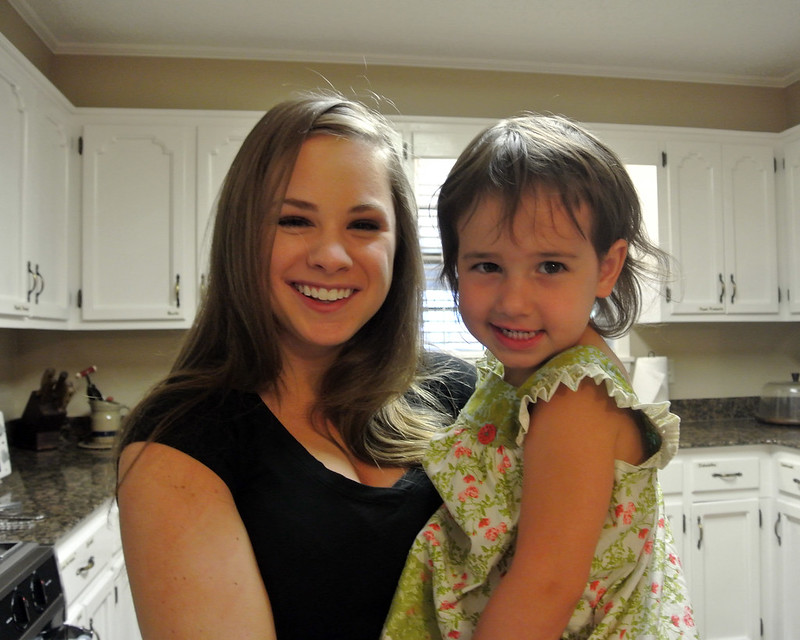
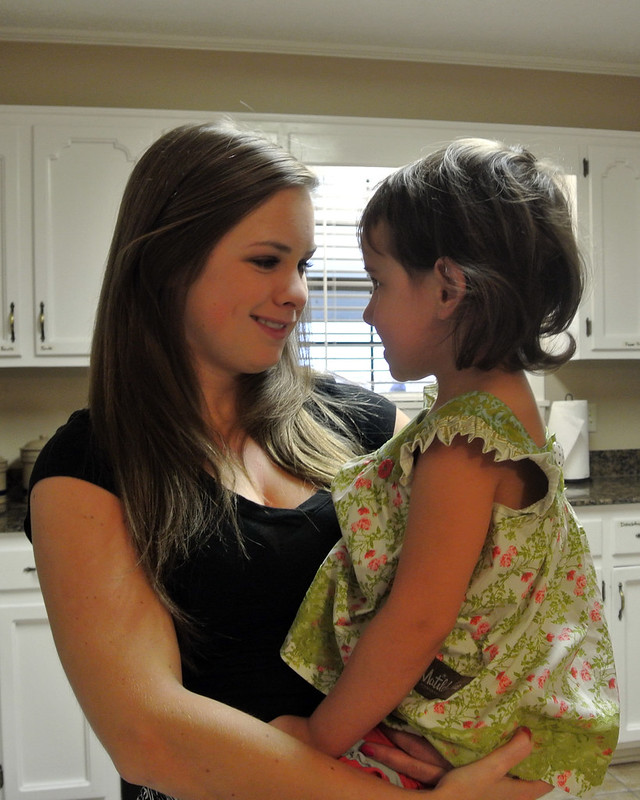
This was my first shot at child photography, and these girls were full of energy! The low lighting proved to be a challenge, and I had to doctor almost all of these in Photoshop to brighten and reduce the distracting background.
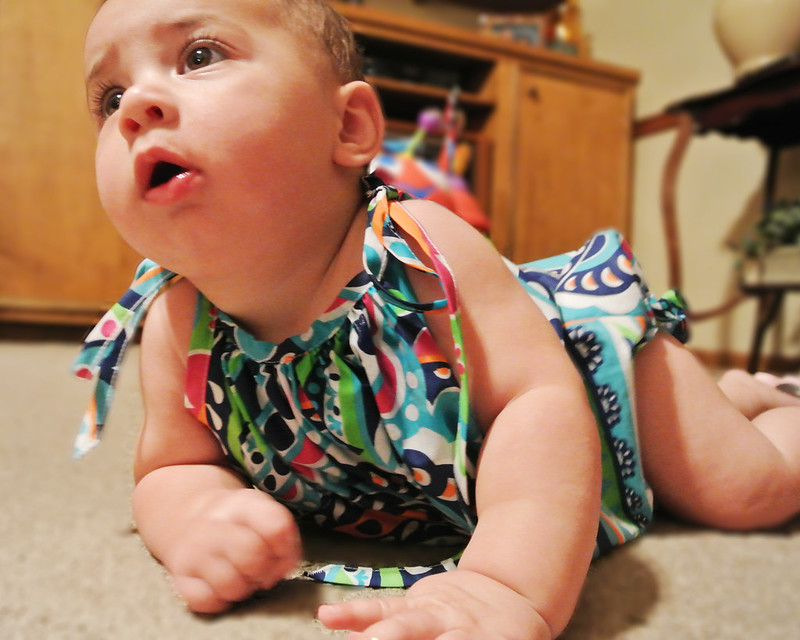
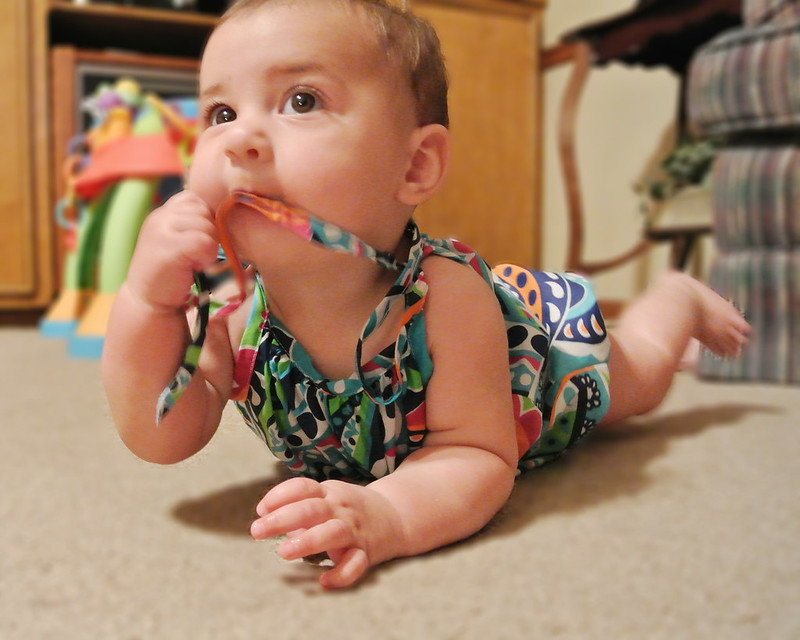
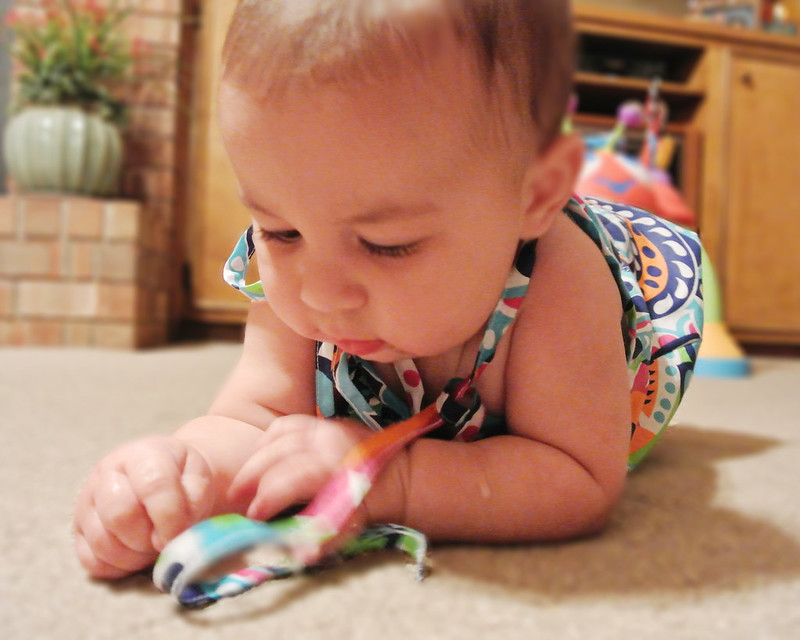
Mary Michael is such a happy baby. She didn't fuss the entire evening!
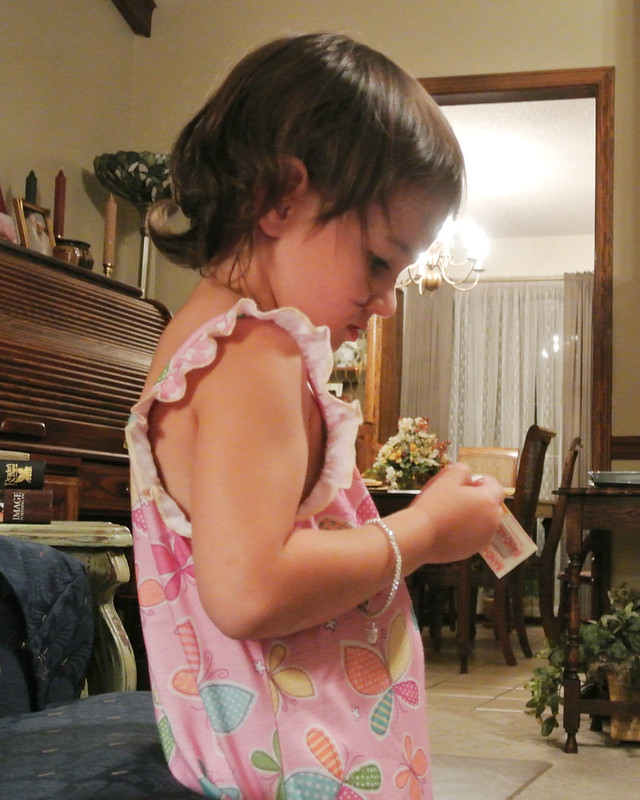
The string on her dress kept her occupied for a long time!
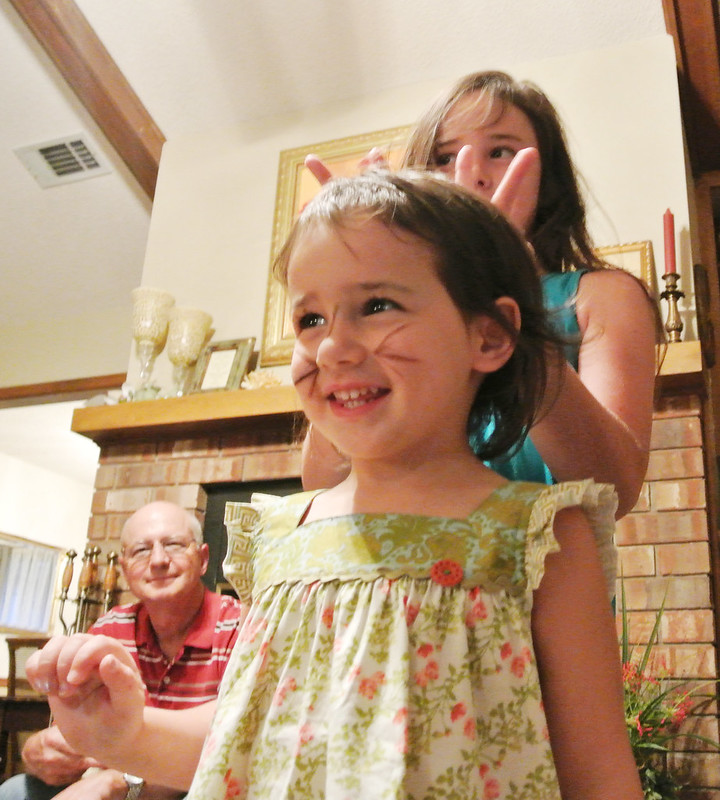
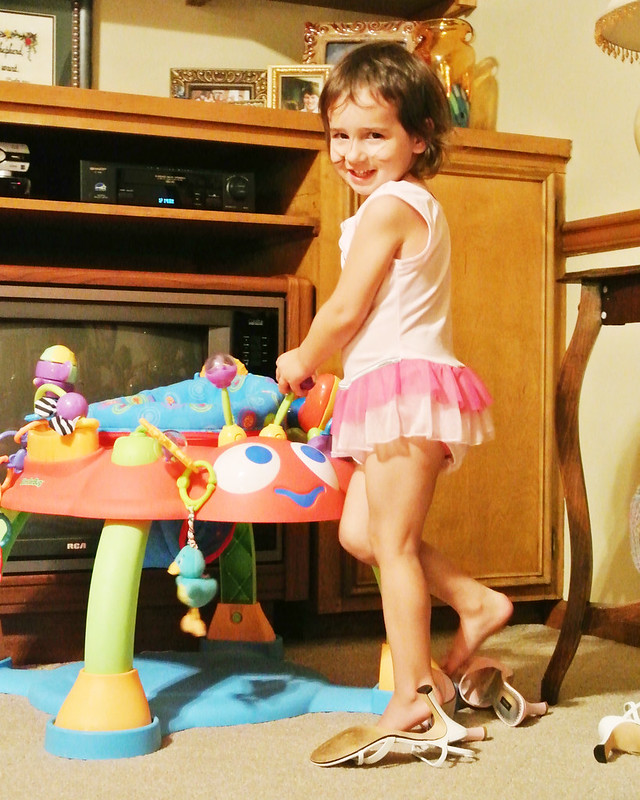
Ruth Ellen is not camera-shy! In fact, she might be the easiest of the four girls to photograph! I never would've guessed that.
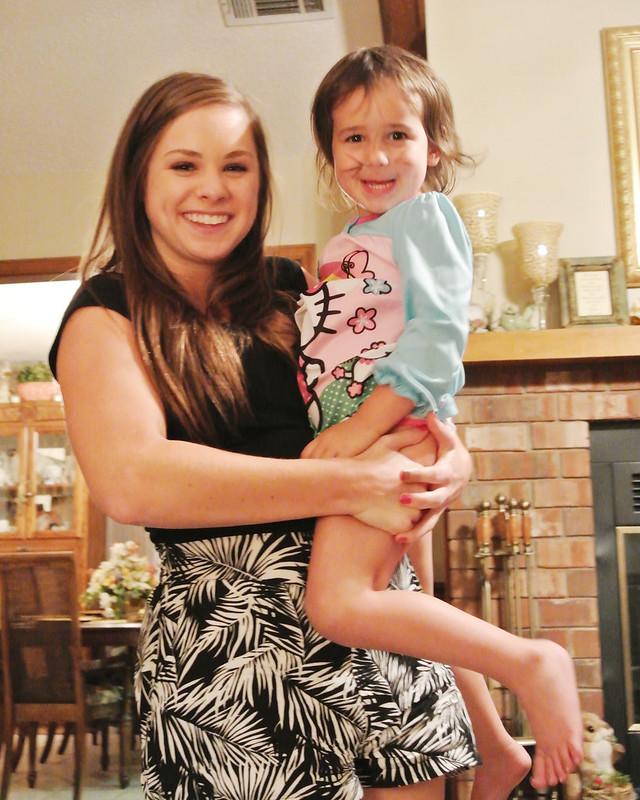
The three big girls scored a sleepover at G.G.'s! Daddy left, and it was time to get ready for bed -
Times are changing. These girls never knew a world without laptop computers and wireless Internet. When Emma and Lillie saw my iPhone, they asked if they could see it and exclaimed, "You have Temple Run!" There is at least one thing, however that hasn't changed since my childhood.
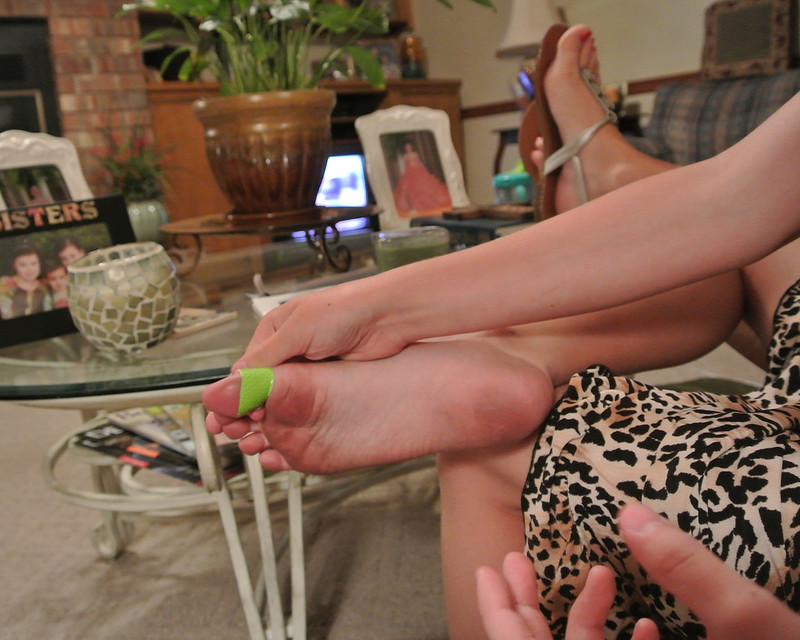
Band Aids make everything better.
Labels:
Family,
Mississippi,
Parties,
Photography
Subscribe to:
Posts (Atom)