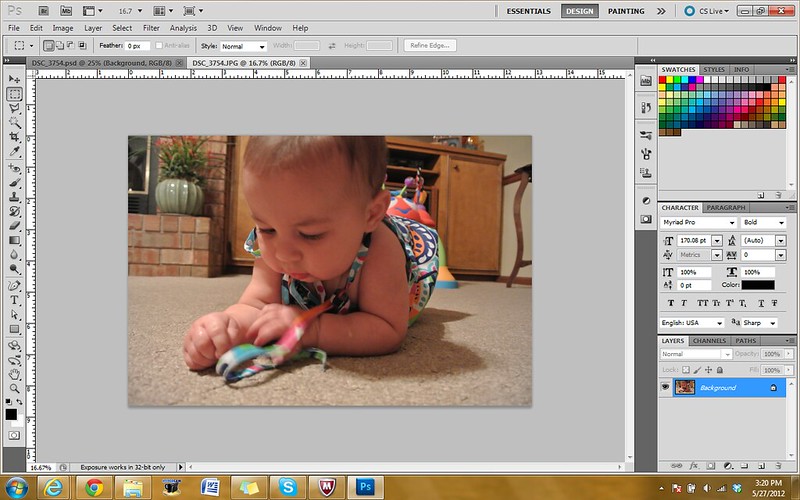
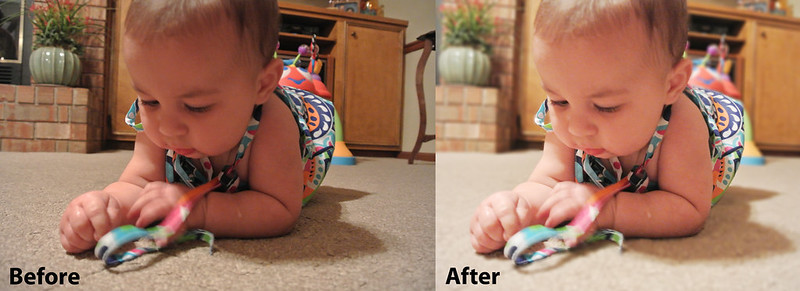
This is a photo of my cousin's youngest daughter. I took it by placing my camera on the floor at her level while sitting "Indian-style." I was pretty much shooting blind and wasn't able to pay much attention to focus. As you can see, the lighting is not ideal. It's a little dark, and the background is a bit distracting.
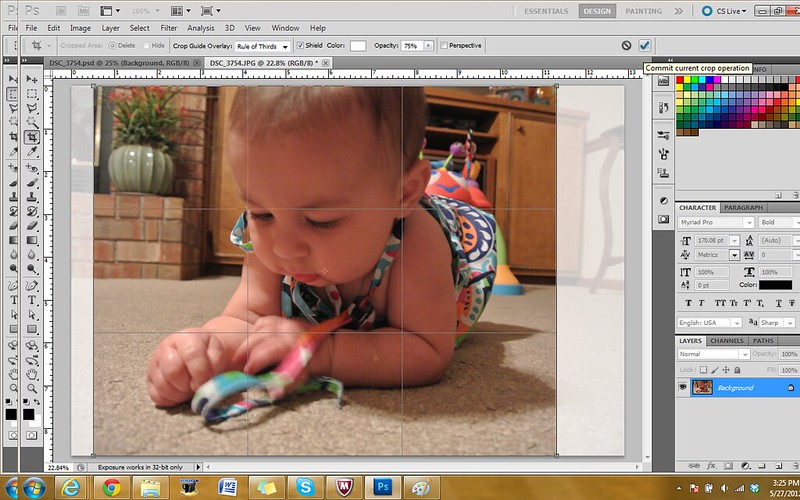
The first thing I did was crop the image to eliminate unnecessary background. I cropped it as an 8x10 and used the "rule of thirds" crop feature to frame her face.
Next, I wanted to adjust the lighting and brighten the image. You can do this using the brightness/contrast adjustment, but my recent obsession has been using curves. It's a lot more adjustable in what you brighten and what you darken and contrast.
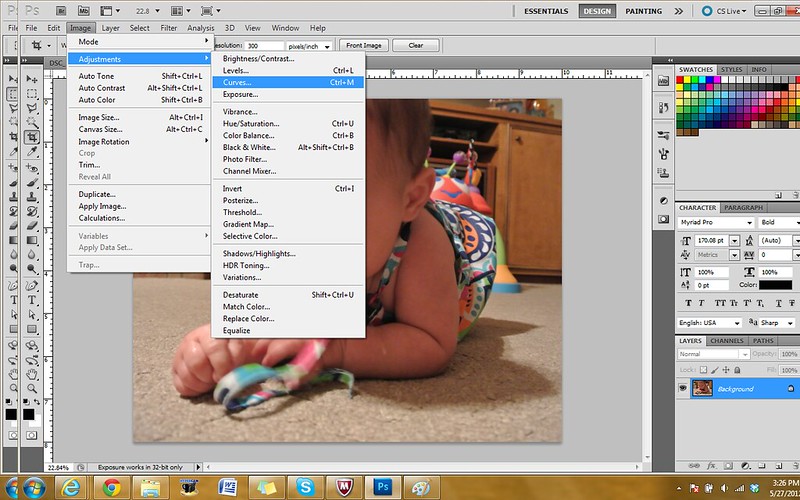
I played with the curves feature until I was happy with the results. I have Adobe Photoshop CS5, and you can see the image change as you adjust the controls. A good starting place is to pick a point in the middle of the line and pull it upwards if you are trying to brighten an image (downwards if it needs to be darker). From there, you can slide it left and right. I typically use one to three control points.

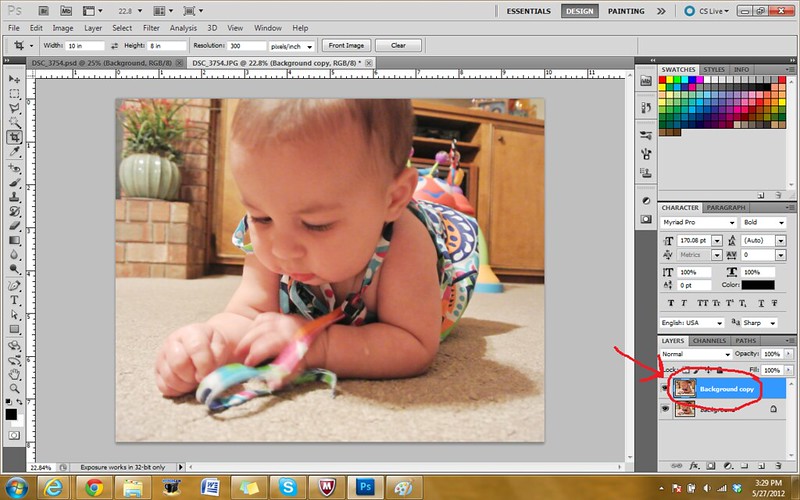
Once I was happy with how the image looked, I right-clicked on "Background" in the layers tab and chose "Duplicate Layer."
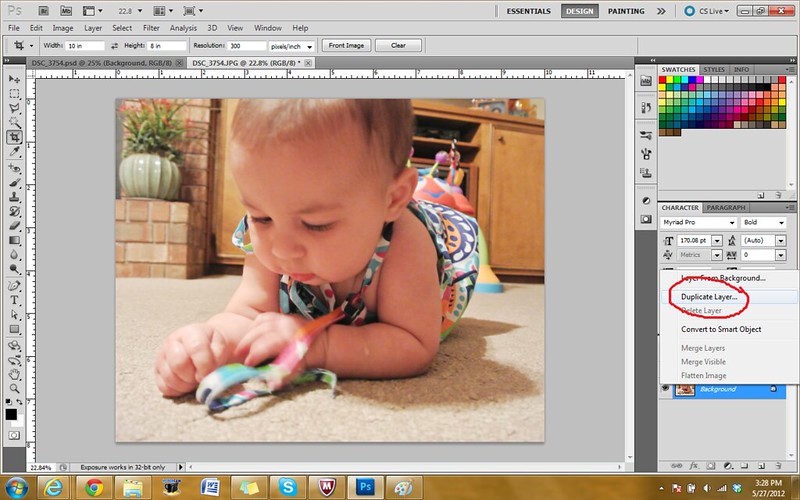
You'll then see a new layer that is called "Background Copy" (unless you choose to change the name of the layer - I rarely do unless I am working with many layers).
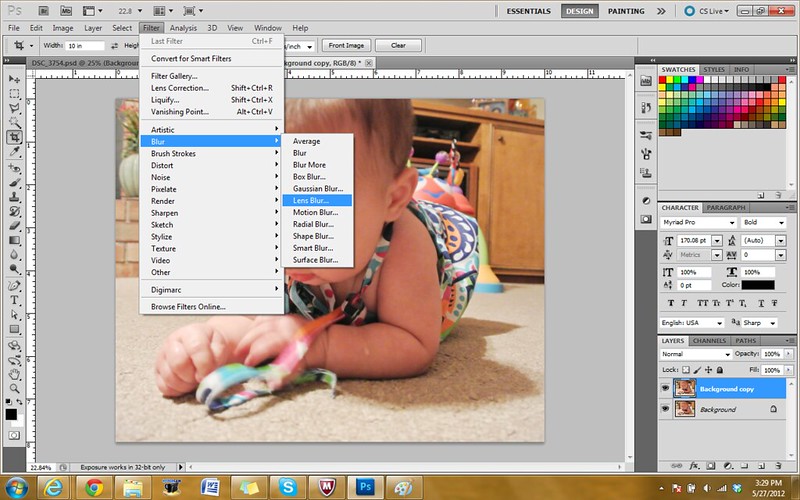
Make sure that the "Background Copy" layer is selected and highlighted blue. Then, go to Filter, Blur, Lens Blur.
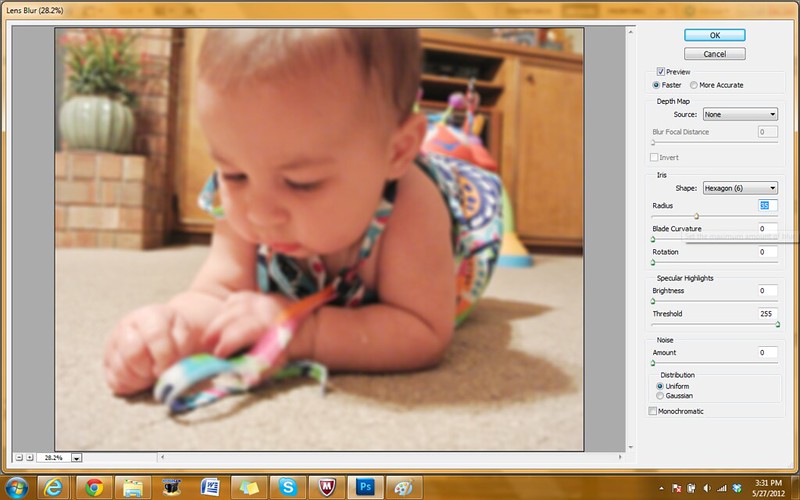
I then adjusted the radius on the lens blur until I was happy with how the background looked.
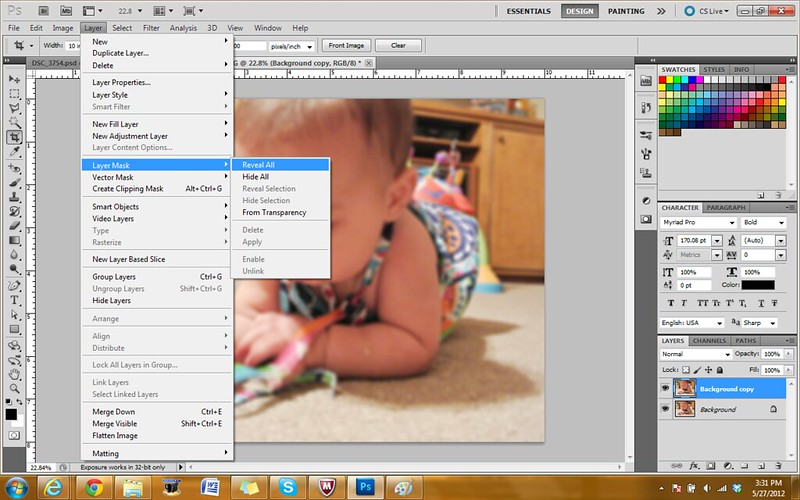
The next step is to again make sure that the Background Copy layer is selected and choose Layer, Layer Mask, Reveal All.
The layer mask appears like this in the layer window -

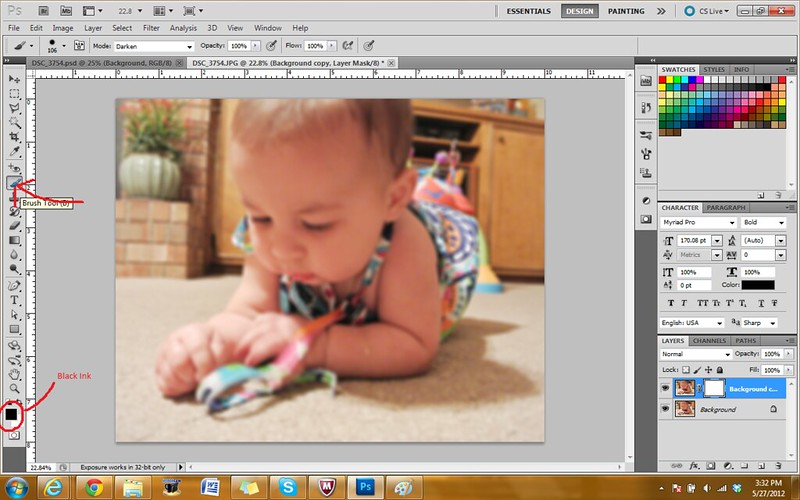
The next step is a little difficult to illustrate using screen shots. Choose the pen tool and make sure that the ink is black.
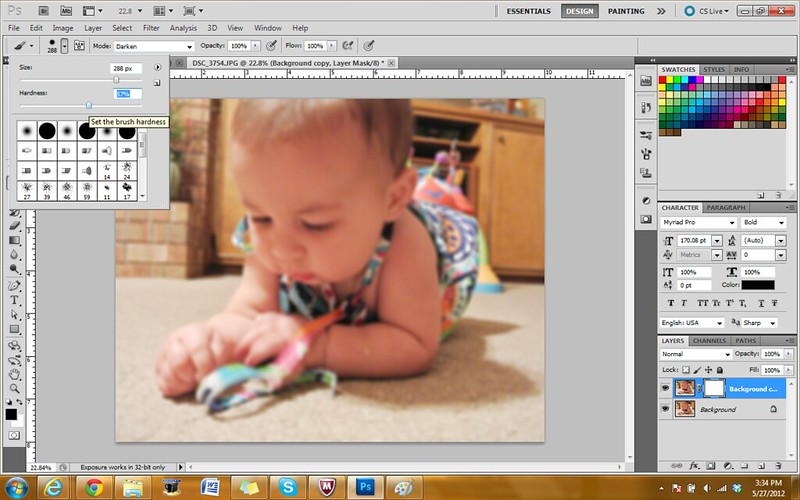
I also like to reduce the hardness of the brush. You then paint over the part of the image in order to reveal the background - the portion that you paint over will eliminate the lens blur. I took the brush and painted over the baby's body. You will see the background as you paint over the subject.
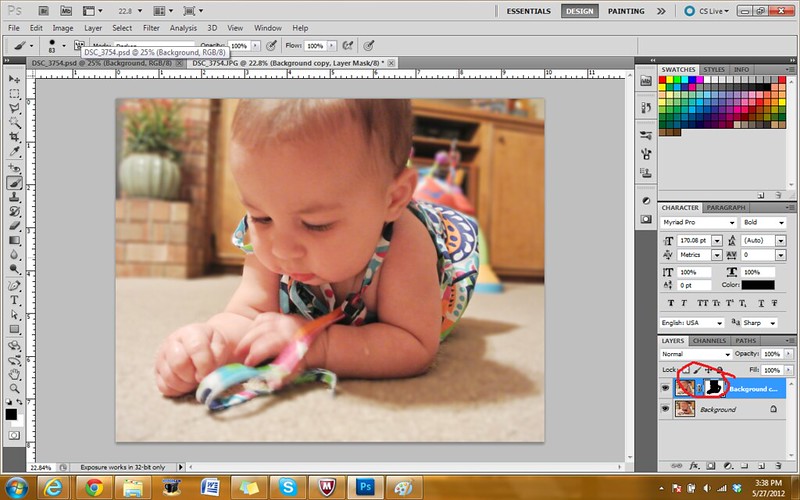
As you paint over the subject, the layer mask appears in the layer window. This will give you an idea of any spots you missed.
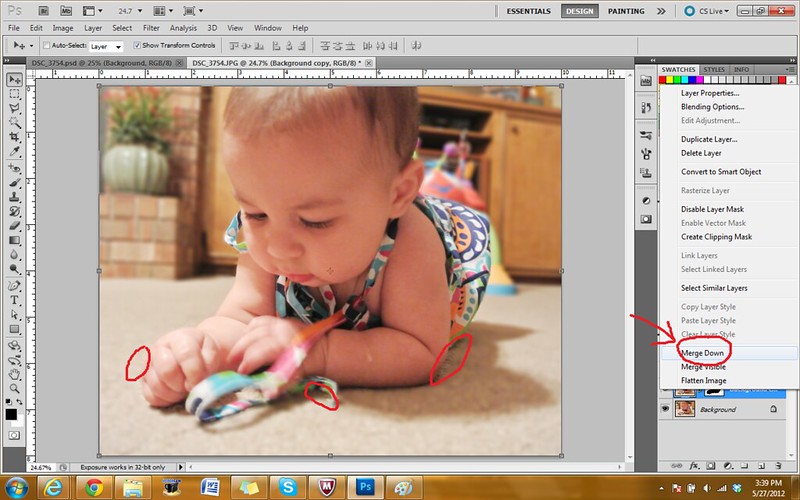
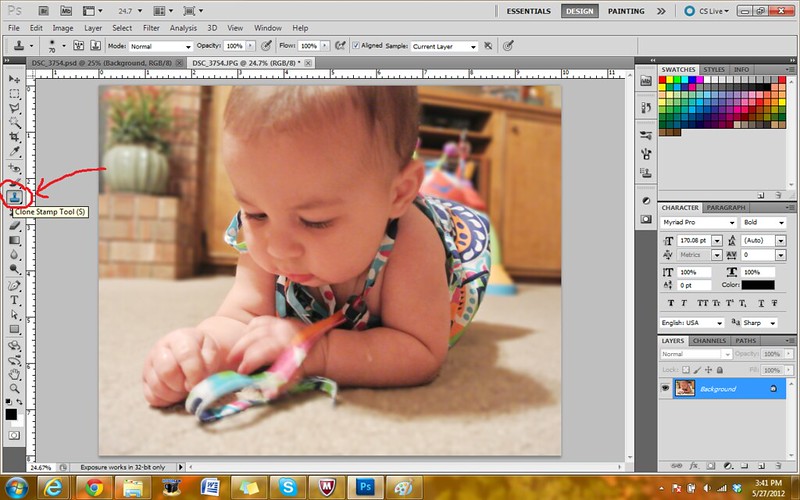
The next step is a somewhat nit-picky one. I went over on the carpet a little as I was creating the layer mask, and I wanted to fix it so that the entire carpet was blurred. Instead of adjusting the layer mask, I chose to merge the Background and Background Copy layers.
And I then used the Clone Stamp tool to replace the carpet from the background layer with the carpet that had been blurred.
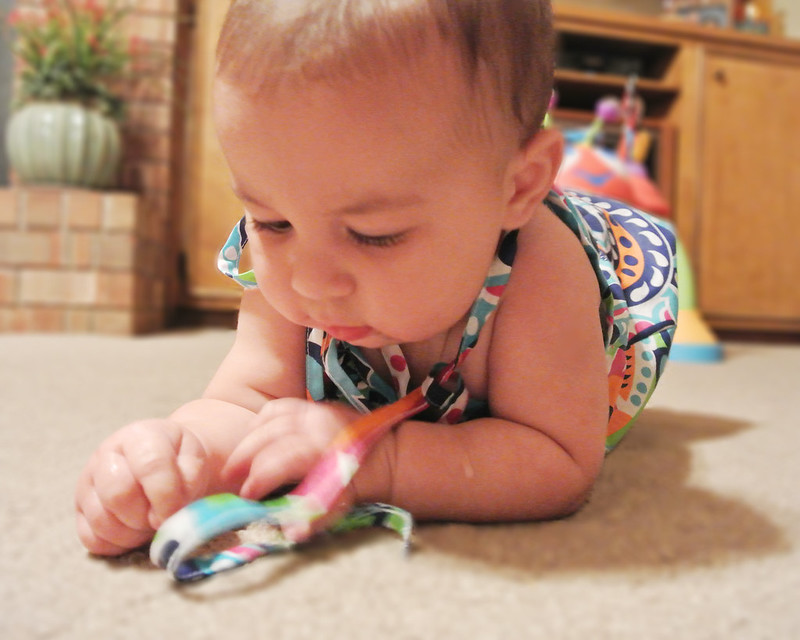
The results? I brighter baby that is no doubt the center of attention!

No comments:
Post a Comment